Sewing machine with ¼” seam foot
Thread and pins
Block Sizes Available: 4”, 6”, 8”, or 12” finished
Cutting Instructions
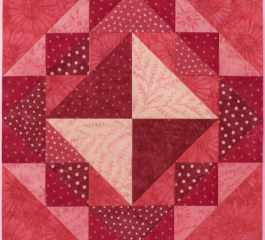
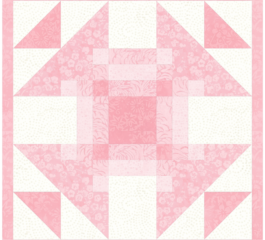
Each block starts with a center square (A), framed with rectangles (B & C), and surrounded by corner units (D & E).
-
A: 1 square (size depends on block size chosen)
-
B: 2 rectangles (frame the center square)
-
C: 2 rectangles (add top and bottom borders)
-
D: 48 small squares with diagonal lines drawn (for stitch-and-flip corners)
-
E: 12 squares (paired with D to make stitch-and-flip units)
(See full cutting chart in the PDF for exact sizes for each block.)
Step-by-Step Assembly
-
Center Square – Sew B rectangles to either side of square A. Press seams outward. Add C rectangles to the top and bottom, creating the block’s center.
-
Stitch-and-Flip Units – Place one small D square on each corner of an E square. Sew along the diagonal line, trim ¼” from seam, and press outward. Repeat for all corners to make 12 units total.
-
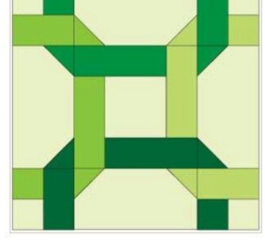
Arrange Units – Lay out the block as shown in the diagram, with the stitched units forming a frame around the center.
-
Sew Rows – Join pieces into three horizontal rows. Press seams open to reduce bulk.
-
Assemble Block – Sew rows together to complete the block. Trim to the correct unfinished size:
-
4 ½” x 4 ½” (4” finished)
-
6 ½” x 6 ½” (6” finished)
-
8 ½” x 8 ½” (8” finished)
-
12 ½” x 12 ½” (12” finished)
At the end of this post, you’ll find the free PDF pattern with cutting charts, diagrams, and detailed instructions.
👉 Download the Free Fixer Upper Quilt Block PDF Pattern Here
The Fixer Upper Block is a wonderful choice for quilters of all levels. It’s simple enough for beginners to master, yet versatile enough to become a favorite building block in larger quilts. By experimenting with fabric choices, you can give this block a modern, scrappy, or traditional look.
✨ Whether used in samplers, wall hangings, or full quilts, the Fixer Upper Block is proof that small steps build into something beautiful.