Fabric Color Suggestions
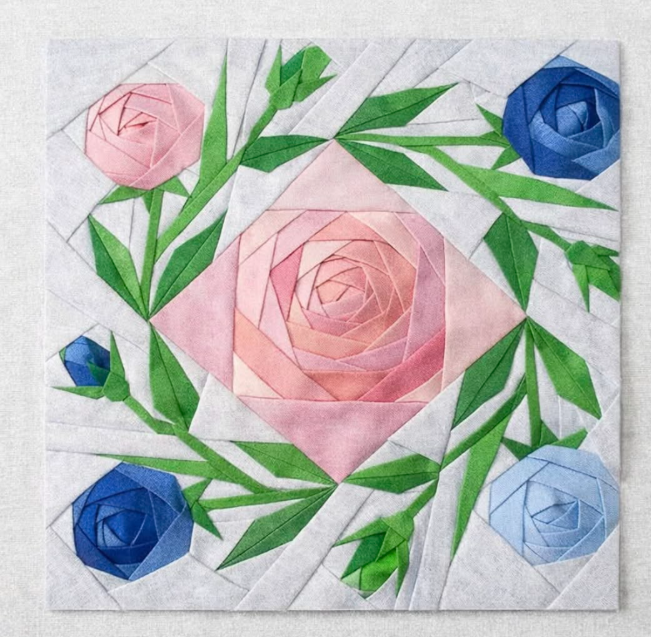
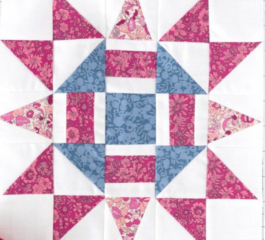
One thing that makes this block truly special is the opportunity to play with color.
You can try:
- Soft pink roses with sage green leaves for a romantic look
- Bold blue and navy flowers for a modern design
- Red and burgundy tones for a dramatic floral effect
- Pastel colors for baby quilts or spring décor
Scrap fabrics work beautifully in this pattern, making it a great stash-busting project.
Understanding the Diagram
The diagram shows the exact order in which each piece is sewn. Each numbered section represents a fabric piece that will be stitched directly onto the paper foundation.
Key tips:
- Always sew pieces in numerical order
- Press after each seam
- Trim seam allowances to reduce bulk
- Keep your fabric pieces slightly larger than needed
Foundation paper piecing works like building a puzzle—each piece locks into place as you go.
Cutting Preparation
Before you begin sewing, prepare your fabrics:
- Cut fabric pieces slightly larger than each section in the diagram
- Leave at least ¼ inch seam allowance around each area
- Organize fabrics by color group (flowers, leaves, background)
This simple preparation step makes the sewing process much smoother.
Step-by-Step Sewing Instructions
Step 1 — Print and Prepare the Template
Print the foundation pattern at 100% scale.
Do not resize the image.
Cut out the main sections of the pattern, leaving a margin around each one.
Step 2 — Start with Piece #1
Place the first fabric piece right side up on the blank side of the paper, covering section #1 completely.
Hold the paper up to the light to make sure the fabric fully covers the shape.
Step 3 — Add Piece #2
Place fabric piece #2 right sides together with piece #1.
Sew along the line between sections 1 and 2.
Then:
- Flip the fabric open
- Press with an iron
- Trim seam allowance to ¼ inch
Step 4 — Continue Following the Numbers
Repeat the same process:
Sew → Flip → Press → Trim
Work in numerical order until the entire section is complete.
This method ensures precise angles and clean points.
Step 5 — Complete Each Section
The block is made from several smaller sections.
After finishing each section:
- Trim the unit along the outer line
- Leave seam allowance intact
- Remove excess fabric
Keep the paper attached until final assembly.
Step 6 — Join the Sections
Once all sections are finished:
- Align edges carefully
- Sew sections together
- Press seams flat
Take your time during this step to keep the block square and accurate.
Step 7 — Remove the Paper
After the block is fully assembled:
Gently tear away the foundation paper from the back.
Do this slowly to avoid stretching the seams.
Tips for Success
- Use a shorter stitch length (1.5–2.0)
- Always press after sewing
- Trim frequently to reduce bulk
- Keep pieces slightly oversized
- Work slowly and accurately
These small habits make a big difference in the final result.
Ways to Use This Block
This floral block is incredibly versatile. You can turn it into:
- Decorative pillow cover
- Wall hanging
- Table topper
- Quilt centerpiece
- Tote bag panel
- Mini quilt gift
It also works beautifully as part of a floral quilt series.
The Floral Rose Foundation Paper Piecing Block is a wonderful project for quilters who enjoy detail, color, and creativity. While the design looks intricate, the step-by-step process makes it surprisingly achievable even for those new to foundation piecing.
Floral Rose Foundation Paper Piecing Quilt Block PDF
Take your time, enjoy the process, and watch as each piece transforms into a beautiful floral masterpiece. Projects like this remind us that quilting is not just about stitching fabric it’s about creating art, one seam at a time.