Step 2 – Preparing Strip Sets:
Strip sets are pieced from alternating fabrics, then sub-cut into smaller sets labeled A, B, C, and D for later block assembly.
Steps 3–7 – Block Assembly:
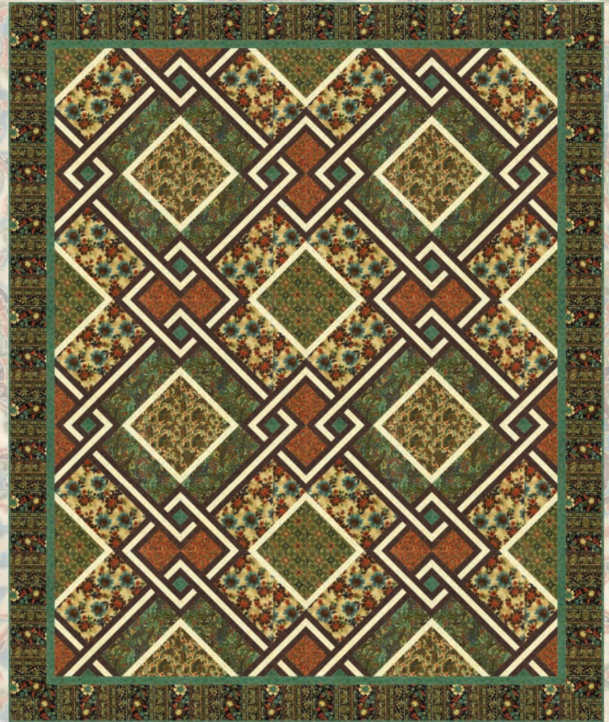
The quilt blocks are built in parts—Parts 1 through 5—each combining specific fabric cuts and strip set pieces. These sections are then joined to complete each 15” block. Paying close attention to orientation is important, as the blocks are rotated in the final layout to create the overall pattern.
Step 8 – Sewing the Quilt Top:
Blocks are sewn into rows and joined together to form the quilt center. An inner border is added first, followed by the outer border to complete the quilt top.
Step 9 – Finishing:
Layer your quilt top with batting and backing, quilt as desired, and apply the binding to finish your Florence Quilt.
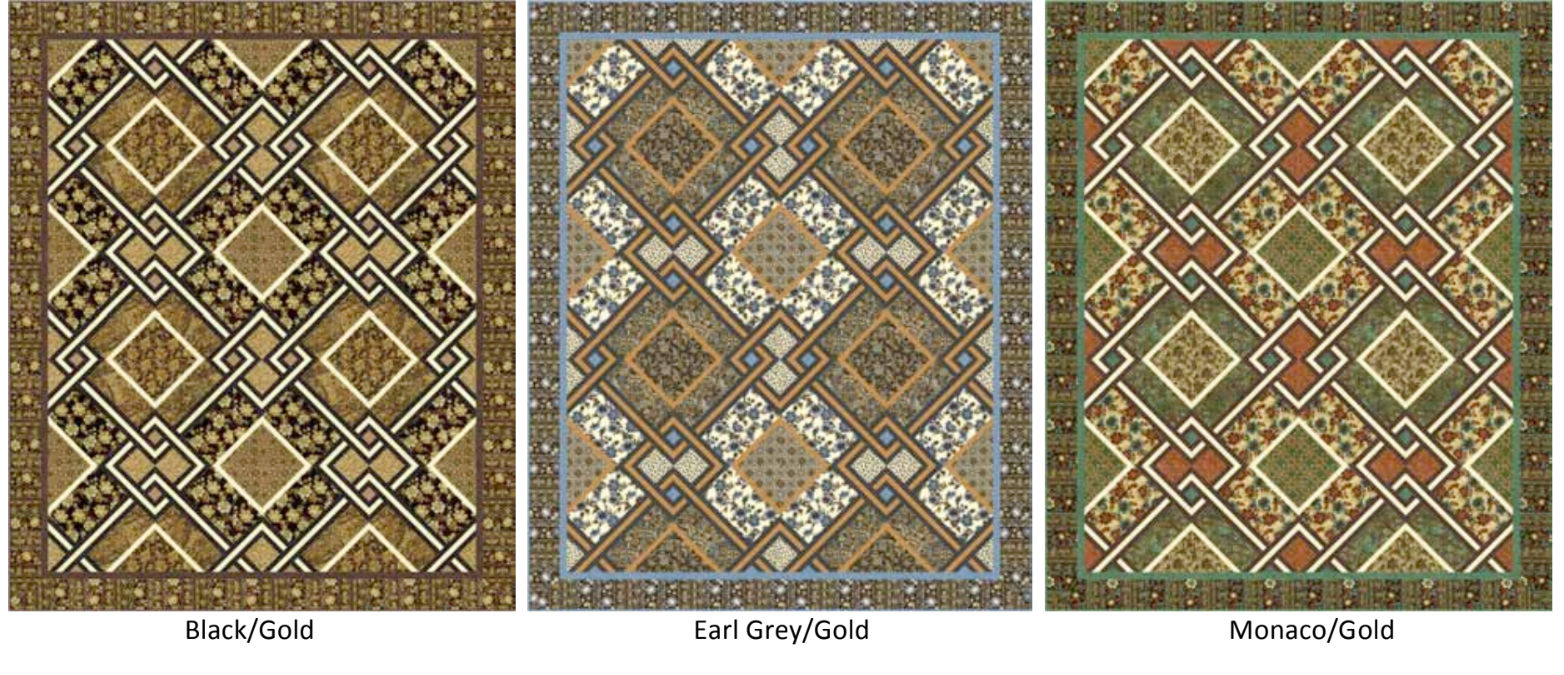
Florence Quilt Pattern
Skill Level & Tips
While the instructions are detailed, the Florence Quilt involves precise cutting, accurate seam allowances, and careful block assembly. Intermediate quilters will enjoy the challenge, and advanced quilters will appreciate the meticulous design details. For best results:
-
Pre-wash and starch fabrics before cutting.
-
Label all pieces during cutting.
-
Press seams open to reduce bulk.
📥 At the end of this article, you can download the complete PDF pattern for the Florence Quilt and start your journey toward making this timeless treasure.
PDF pattern
The Florence Quilt is more than just a sewing project it’s a statement piece. Its refined geometric layout, paired with the elegance of the Florence fabric line, makes it an heirloom-worthy quilt that will be admired for years to come. If you enjoy quilts that challenge your piecing skills while rewarding you with a breathtaking result, this pattern is for you.