Seam Allowance: Stick to a consistent seam allowance. This not only guarantees that your blocks fit together seamlessly but also preserves the integrity of the design.
Pressing: Ironing seams as you go can make a world of difference. A well-pressed seam helps maintain the sharp, clean lines that define the split rail pattern.
Trial Runs: Don’t hesitate to sew a small sample block first. This practice run can help you adjust your measurements and techniques before committing to the entire quilt.
Creative Variations to Explore
One of the most exciting aspects of quilting is making a design your own. With the Split Rail Fence Quilt, consider these creative twists:
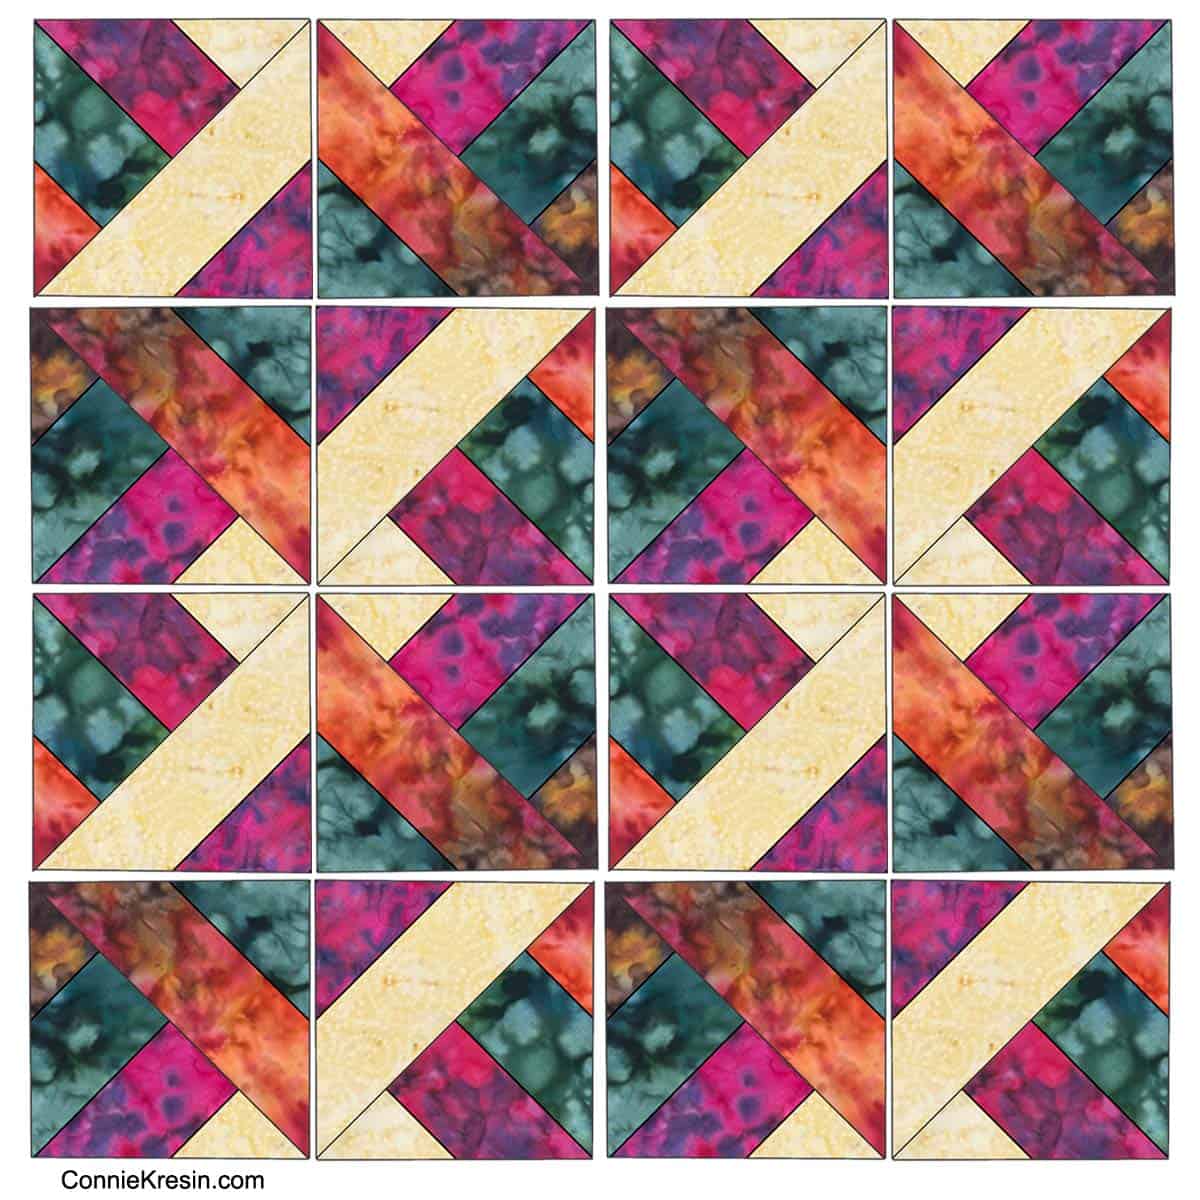
Mix and Match: Experiment with fabrics of varying textures—from bold prints to subtle solids—to add depth and interest.
Modern Update: Incorporate contemporary elements such as metallic threads or unexpected color combinations to give the classic design a modern twist.
Seasonal Themes: Adapt the quilt for different seasons by choosing fabrics that evoke the feeling of spring blossoms, summer sunsets, autumn harvests, or winter wonderlands.
Bringing It All Together
For a complete, step-by-step guide to creating your very own Split Rail Fence Quilt, please check out our free tutorial here:
FREE TUTORIAL HERE
The Split Rail Fence Quilt is more than just a project it’s a journey through history, creativity, and craftsmanship. Every stitch connects you with a tradition that values both beauty and utility. As you work through each block and rail, you’re not just creating a quilt; you’re crafting a piece of art that reflects your personal style and the timeless appeal of traditional design.