Scissors
Tapestry needle
(Optional) Bag lining
🔹 Approximate yarn usage: 420 g of cotton yarn
Abbreviations (US Terms)
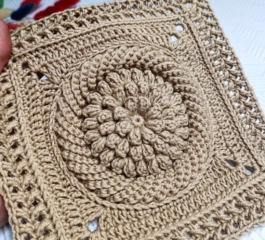
Bag Base – Initial Square
-
Make a magic ring.
-
Chain 3 (counts as 1 dc).
-
Work into the ring:
-
Repeat this group 4 times to form a square.
-
Pull the yarn to close the magic ring.
-
Join with a slip stitch into the 3rd starting chain.
Second Round – Deep Stitches
-
Chain 3.
-
Work:
-
In each corner work:
-
(dc + deep dc + dc)
-
2 ch
-
(dc + deep dc + dc)
-
Repeat on all sides.
-
Join with a slip stitch.
👉 Each color is worked for 2 rounds before changing.
Color Change
Square Growth
Continue repeating the same pattern:
Work with multiple colors until the square is large enough for the front of the bag.
Defining Front and Back
-
Choose two sides to increase (the sides of the bag).
-
The other two sides will not increase (front and back).
-
Use stitch markers to identify the increase points.
Bag Body
-
Work rounds keeping increases only on the marked sides.
-
Continue until the desired bag height is reached.
-
Once the ideal height is achieved, stop increasing and work straight.
Bag Sides
This creates a more elegant and structured finish.
Bag Handles
-
Chain 60 (approx. 33 cm).
-
Attach with single crochet on the opposite side.
-
Work single crochet stitches across the entire handle.
-
Repeat on the other side.
Top Edge Finish
-
Work one round alternating:
-
1 regular single crochet
-
1 deep single crochet
-
Alternate around the entire opening.
-
Work 2 to 3 rounds to reinforce the edge.
Important Tips
✔ Use lightweight cotton yarn (thick yarn will make the bag heavy).
✔ Avoid metal chains to keep the bag light.
✔ Add a fabric lining if desired for extra durability.
✔ If the opening feels too wide, you can adjust it with an internal drawstring.
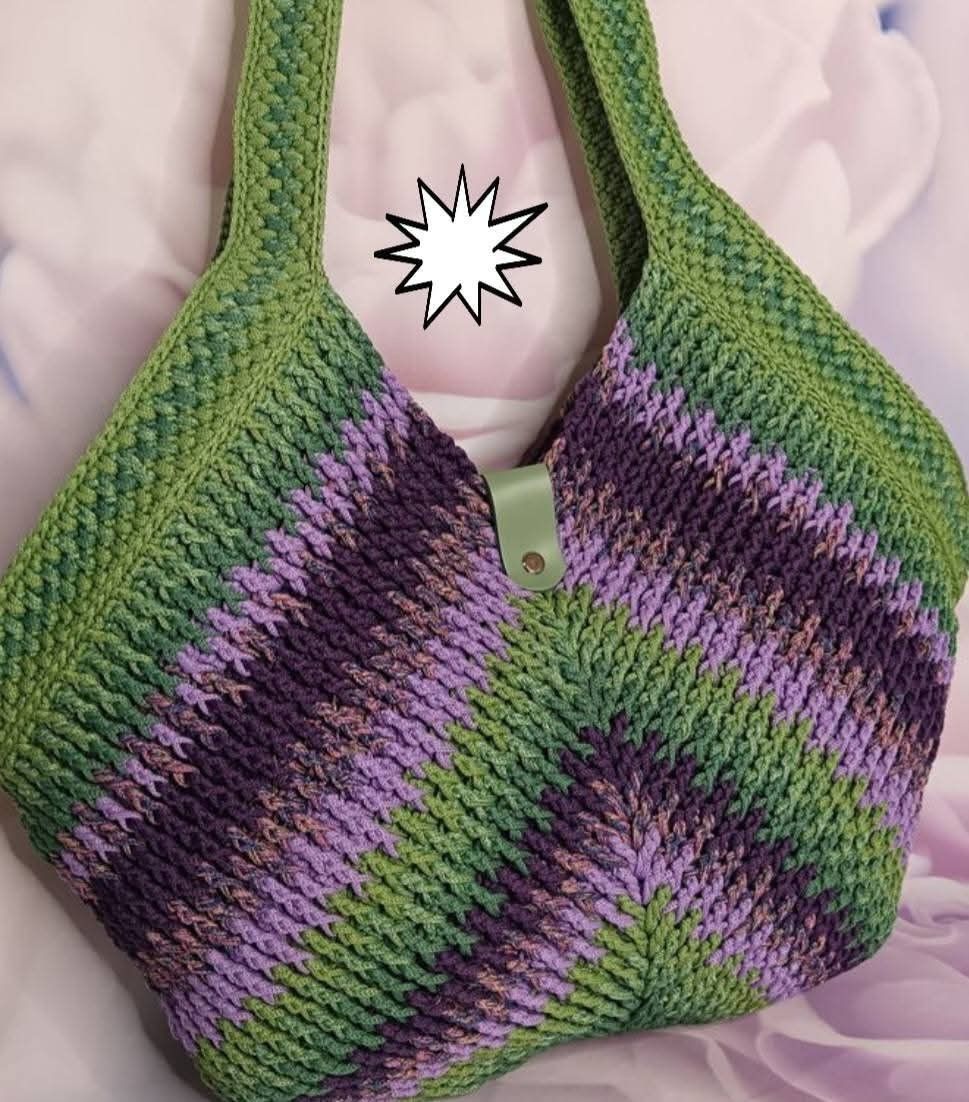
This crochet bag is practical, modern, and perfect for everyday use. The raised stitch texture adds a sophisticated look, while the color combinations allow endless customization. A beautiful project for personal use or even to sell.