-
Chain 2 more (these count as the first single crochet).
-
Starting from the fourth chain from the hook, work 1 single crochet into each chain across.
-
Turn your work, chain 2, and continue making single crochets on each stitch.
➡ Repeat this until you have 36 rows of single crochet, forming a rectangle.
💡 Tip: In the example, the rectangle measured approximately 17 cm in height. You can adjust it based on the size of your device.
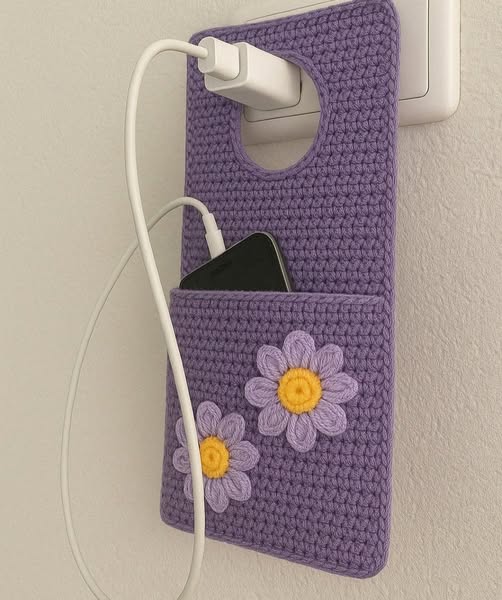
2. Creating the Center Cut-Out (Hole for Charger)
Now let’s create the opening where the phone charger will go through.
-
Chain 2, turn your work, and make 10 single crochets.
-
Turn again, chain 2, and continue working 1 SC into each of the 10 stitches.
Continue crocheting back and forth in these 10 stitches, following the decrease rows:
-
Row 3: Decrease at the end → 9 stitches
-
Row 4: Keep all 9 stitches
-
Row 5: Decrease at the end → 8 stitches
-
Row 6: Keep 8 stitches
-
Row 7: Decrease at the end → 7 stitches
-
Row 8: Keep 7 stitches
-
Row 9: Decrease at the end → 6 stitches
Finish off and cut the yarn, leaving a tail if you want to sew it later.
3. Repeat on the Other Side
Count your base stitches and repeat the same process on the opposite side to create a second flap that mirrors the first.
This time, there’s no need to leave a long tail, as both flaps will be joined in the next step.
4. Joining the Two Sides
After finishing both flaps with decreases, join the ends together using a chain stitch or sew them neatly, depending on the style you prefer.
This central part is what creates the loop to hang the phone holder from a wall charger.
✨ Extra Tips:
-
You can adjust the size to make larger holders (for tablets, for example).
-
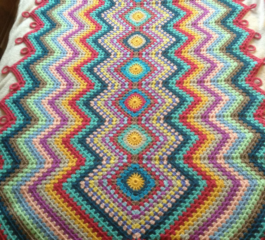
Try using colorful yarn or yarn scraps to create a fun, vibrant piece.
-
Add buttons or crochet flowers to decorate and personalize your holder!
✅ Final Result:
A practical and beautiful handmade phone holder, perfect for organizing and decorating your charging space with a personal touch!