Other supplies: Stitch marker, yarn needle, scissors.
🔁 Gauge
10 single crochet and 11 rows = 4″ (10 cm)
🔤 Abbreviations
🧵 Instructions
Note: Work in spiral rounds. Do not join at the end of each round unless stated. Use a stitch marker to keep track of the first stitch in each round.
Base
-
Ch 2
-
Rnd 1: 6 sc in 2nd ch from hook. (6 sts)
-
Rnd 2: 2 sc in each stitch around. (12 sts)
-
Rnd 3: 2 sc in next st, 1 sc in next st. Rep from * around. (18 sts)
-
Rnd 4: 2 sc in next st, 1 sc in each of next 2 sts. Rep. (24 sts)
-
Rnd 5: 2 sc in next st, 1 sc in each of next 3 sts. Rep. (30 sts)
-
Rnd 6: 2 sc in next st, 1 sc in each of next 4 sts. Rep. (36 sts)
For Large Version Only:
-
Rnd 7: 2 sc in next st, 1 sc in each of next 5 sts. Rep. (42 sts)
-
Rnd 8: 2 sc in next st, 1 sc in each of next 6 sts. Rep. (48 sts)
-
Rnd 9: 2 sc in next st, 1 sc in each of next 7 sts. Rep. (54 sts)
Continue (Both Versions):
Shaping the Opening
Small Version Only:
-
Next rnd: (1 sc in each of next 4 sts, sc2tog) 3 times, 1 hdc in last 18 sts. (33 sts)
-
Next rnd: (1 sc in next 3 sts, sc2tog) 3 times. 1 hdc in next 9 sts. Ch 8, 1 hdc in last 9 sts. (30 sts)
Large Version Only:
-
Next rnd: (1 sc in next 7 sts, sc2tog) 3 times. 1 hdc in last 27 sts. (51 sts)
-
Next rnd: (1 sc in next 6 sts, sc2tog) 3 times. 1 hdc in last 24 sts. (48 sts)
-
Next rnd: (1 sc in next 5 sts, sc2tog) 3 times. 1 hdc in last 21 sts. (45 sts)
-
Next rnd: (1 sc in next 4 sts, sc2tog) 3 times. 1 hdc in last 18 sts. (42 sts)
Final Round (Both Versions)
🎀 Finishing
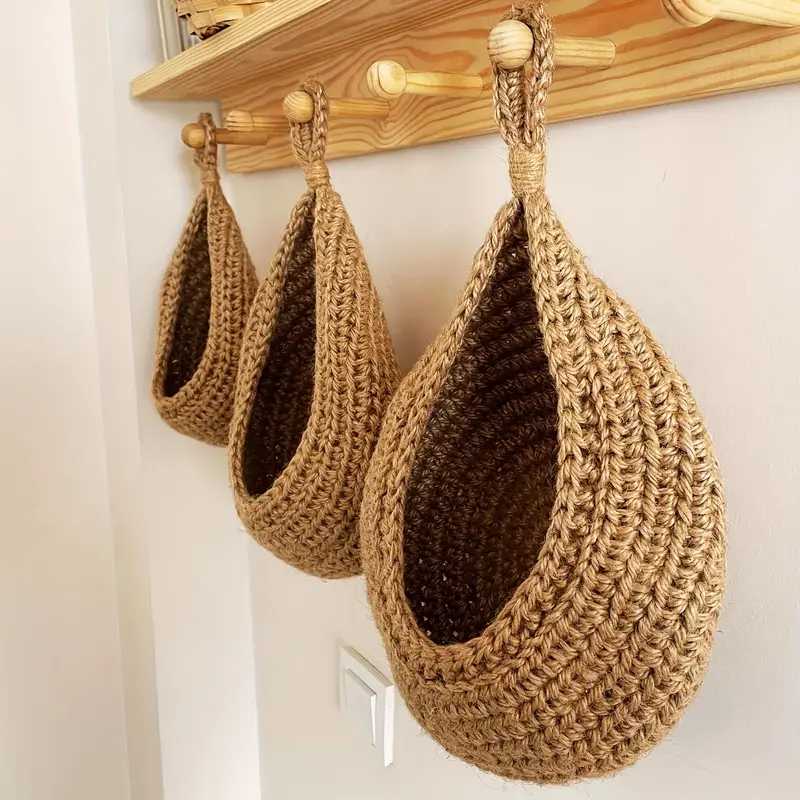
Wrap yarn tightly around the base of the ch-8 loop 12 times to create the hanging loop. Fasten securely, and your planter pod is ready to hang!
🌿 Final Thoughts
This Hanging Planter Pod is a beautiful way to add a handmade touch to your home. Use natural tones for a minimalist look or try bold colors to make a statement. Whether in your living room, kitchen, or balcony, these pods add charm and texture to any space.