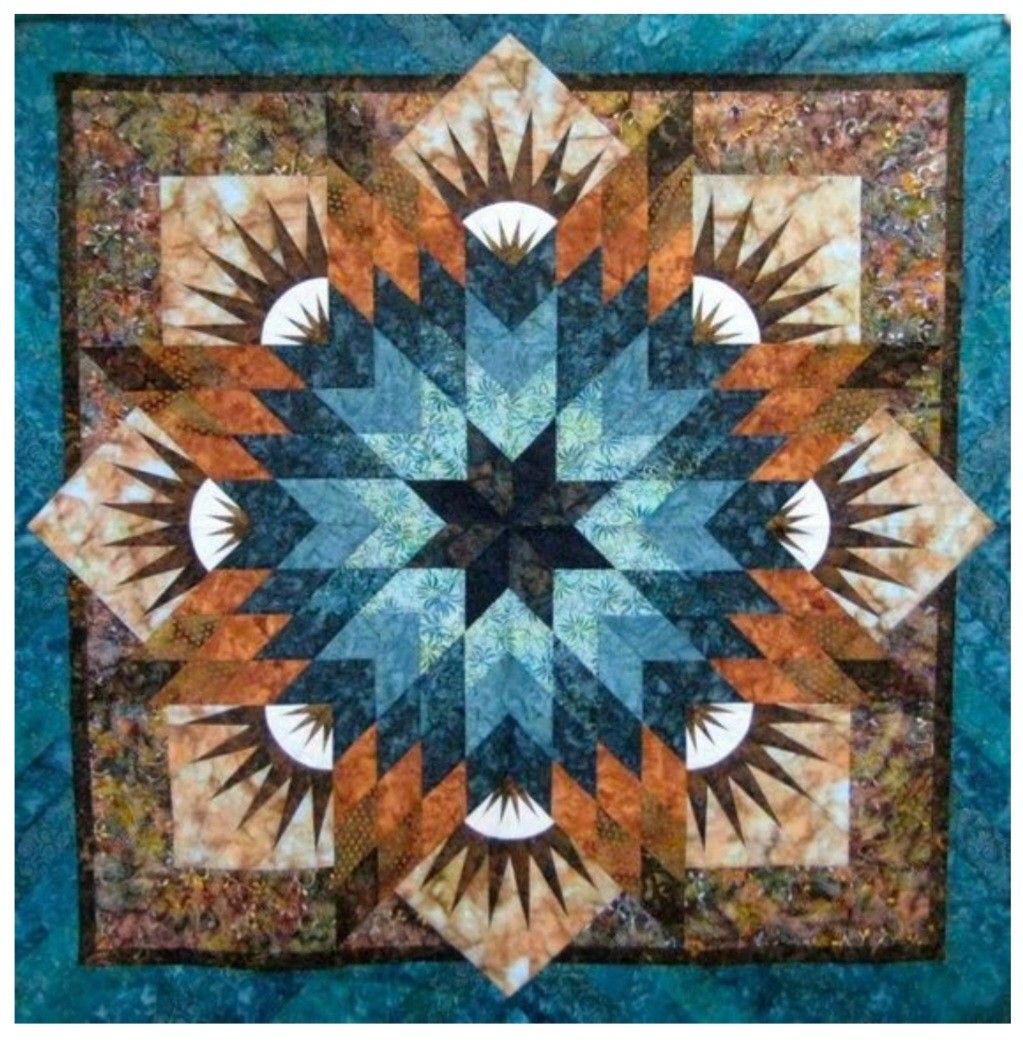
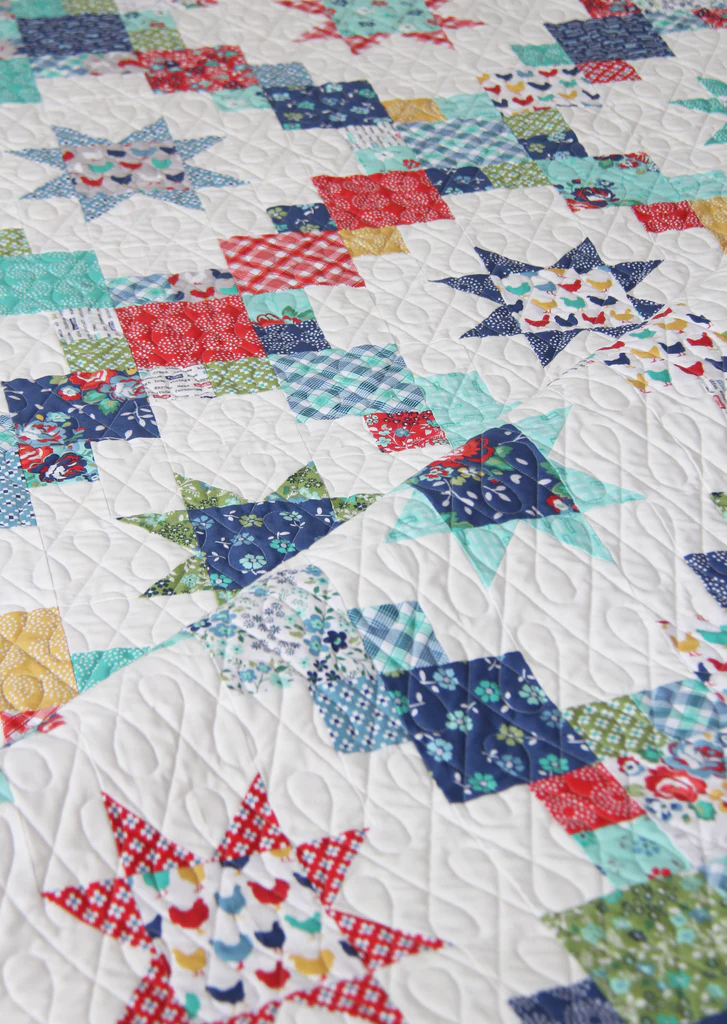
For a similar effect, choose fabrics with distinct light, medium, and dark values. Non-directional batiks or small prints are useful when pieces need to be rotated. Before cutting, arrange fabric swatches in the order shown in the color diagram and take a grayscale photograph. This can help you spot neighboring fabrics that are too similar in value.
Materials and Tools
Gather the following supplies before beginning:
- Quilting cottons or batiks for the star, fans, backgrounds, frame, and border.
- Approximately 4¼ yards of backing fabric, following the PDF’s cutting plan.
- Batting measuring at least 68 × 68 inches.
- Lightweight foundation paper and a printer.
- A rotary cutter, cutting mat, and quilting ruler with a 45-degree marking.
- Fine pins, a fabric marking tool, neutral thread, and an iron.
- Paper scissors and transparent tape for assembling tiled templates.
Consult the PDF for the individual fabric quantities. Its estimates allow for the oversized rectangles used in foundation piecing and assume at least 40 inches of usable fabric width.
How the Quilt Comes Together
Start with the eight large star units. Each contains 16 small diamonds arranged in a four-by-four layout, giving the quilt 128 star diamonds altogether. Keep the fabric codes beside your sewing machine and check each row before joining it to the next. Matching marked seam intersections is especially helpful at the pointed ends.
Next, make the fan halves. Their long outer points and smaller inner points are built on numbered foundations, then joined along a curved seam. Working on one section at a time makes the placement easier to follow. Handle the curved and diagonal edges gently so they retain their shape.
The reconstruction uses four normal sectors and four mirrored sectors. Each combines a star unit, two fan halves, setting pieces, and border sections. One inset corner per sector requires particular care: stop at the marked intersection and keep the other seam allowances free.
Finally, pair the sectors to create four square quadrants. Lay out all four before joining them, checking the direction of the fans and the continuity of the dark frame. Pin the central star intersection carefully when sewing the final seam.
Print and Test Before Cutting Everything
Print the templates at 100% or Actual Size, with automatic fitting or shrinking turned off. Measure the one-inch test square in both directions. Some larger templates span several pages; join their marked edges as directed before using them.
Pay attention to the line key: dashed outlines indicate cutting boundaries, while solid lines indicate stitching boundaries or foundation seams. The supplied cutting outlines already include the seam allowance. Use the separate normal and mirrored foundation pages in the quantities listed in the printing guide.
Quilting and Finishing
Let the piecing guide your quilting choices. You might echo the star’s angles or use gentle curves in the background areas to complement the fans. Check the batting manufacturer’s recommended quilting distance, and take your time around intersections where several seams meet. A turquoise binding can continue the border color for a coordinated finish.
Download the Free Reconstruction PDF
Ready to explore this Summer Solstice quilt pattern reconstruction? The free PDF includes a fabric planning table, cutting inventory, color diagrams, a coloring page, assembly instructions, and full-size templates with printing directions.
Read the guide from beginning to end, check your printer’s scale, and make your trial sector before preparing the full quilt.
Summer Solstice Quilt Pattern PDF
Organizing the pieces before each sewing session can make this detailed project easier to manage. Store the fabrics and foundations for each sector together, and label the normal and mirrored units separately. A simple checklist can help you track completed star units, fan halves, and setting pieces. Taking a photograph of each arranged section before sewing also gives you a useful placement reference when returning to the project later.
Once completed, this quilt can become a striking focal point in a room. Displaying it fully open allows the central star, surrounding fans, and border to be appreciated together. Before gifting or displaying it, photograph both the complete quilt and a few close views of the piecing. These images preserve the details of your work and provide a helpful record of the fabrics and finishing choices that made your version personal.