Washable Liquid Glue and Glue Stick: Optional but helpful for precision.
🛠 Tools Required
While you can substitute some items with what you have on hand, here are the tools used for this tutorial:
-
Rotary Cutter & Self-Healing Cutting Mat
-
Fabric Scissors
-
Temporary Marking Pen or Pencil
-
Quilt Ruler (18″x3″)
-
Square Ruler (10.5″x10.5″)
-
Dry Iron & Pressing Board
✂️ Cutting & Preparation Tips
Before diving into construction, make sure to:
-
Cut all pieces exactly as indicated in your diagram for the best results.
-
Cut the I pieces slightly larger than instructed — this will give you extra fabric to trim and square up the final block.
-
Consider cutting your batting pieces slightly larger as well. It’s much easier to trim them down as you build the block rather than try to stretch pieces that are too small.
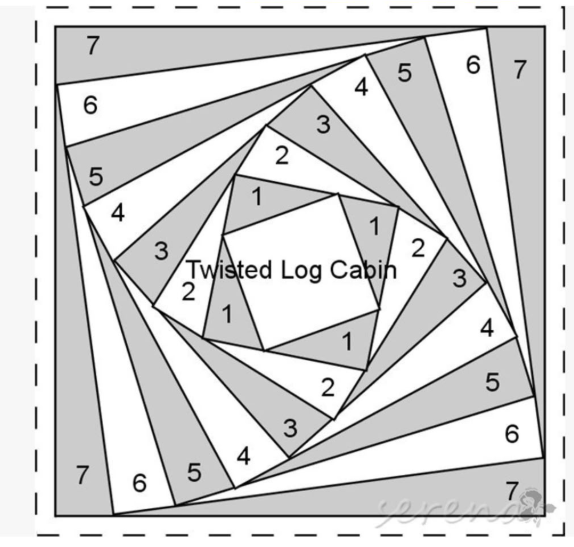
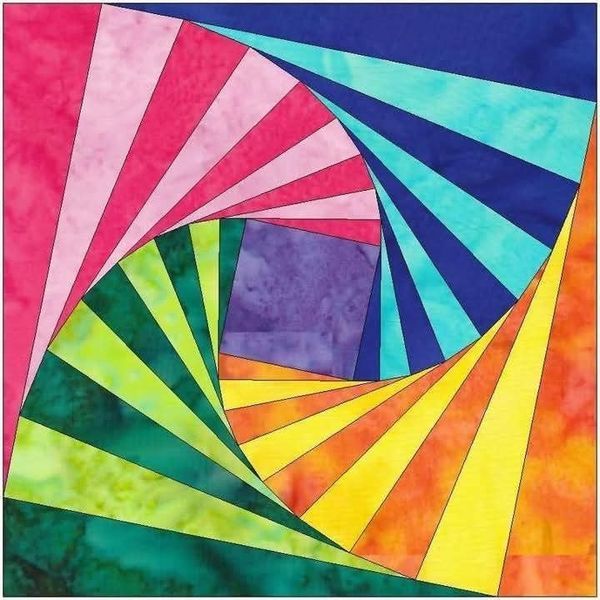
Diagram
🪡 Construction Steps
Use the Quilt As You Piece method for each stage. You can quilt after each addition or wait until the entire block is complete.
-
Start with the Center Square
-
Add Pieces B & C
-
Add Pieces D & E
-
Add Pieces F & G
-
Add Pieces H & I
-
Final Step
-
Once all sections are complete, square up the block to 10 1/2″ x 10 1/2″.
-
Add stay stitching 1/8″ in from the edge all around to stabilize the block for joining.
FREE PDF HERE
🧩 Finishing Touches
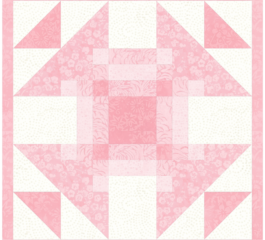
The Twisted Log Cabin block is incredibly satisfying to make and visually stunning. Thanks to the QAYP method, you’re already halfway through your quilting as you go — just join your finished blocks and your quilt is nearly done!
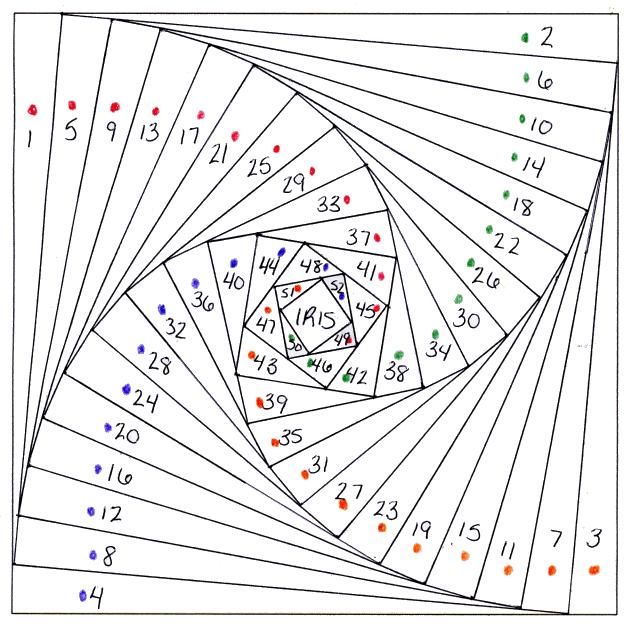
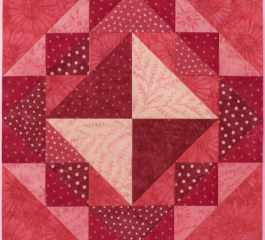
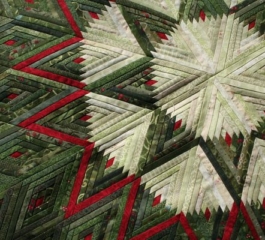
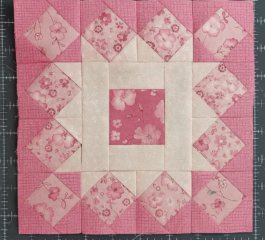
Diagram variation
Use this technique for everything from wall hangings to full-sized quilts. Try playing with color placement for bold spirals, subtle texture, or even scrappy surprises.