Walking in Circles Tutorial

Are you ready to add a touch of movement and elegance to your quilting projects? Circular quilting, also known as “walking in circles,” is a technique that creates mesmerizing, spiral-like designs that can elevate any quilt.

In this tutorial, we’ll guide you step-by-step through the process, ensuring you can master this striking method with confidence. It’s an excellent choice for both modern and traditional quilts, offering texture and visual interest.

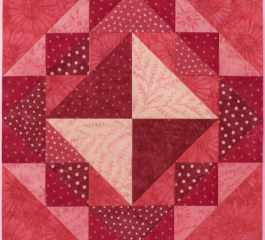
Walking in circles involves stitching concentric or spiral circles onto your quilt using a walking foot. This technique works beautifully as an all-over quilting design or as an accent to highlight specific areas of your quilt.

 Walking in Circles Tutorial
Walking in Circles Tutorial

1. Prepare Your Quilt Sandwich

Make sure your quilt sandwich is securely basted to avoid shifting while quilting. Use pins, spray basting, or hand basting, depending on your preference.

2. Mark the Center Point

Identify where you want your circular quilting to begin. For a spiral, start at the quilt’s center; for concentric circles, you can start anywhere.

3. Draw Your Guide Circles

Using your marking tools, draw circles onto your quilt. If you’re confident, you can skip this step and quilt freehand, but marked lines can help ensure even spacing.

4. Set Up Your Machine

Attach the walking foot to your sewing machine. Adjust the stitch length to a medium setting, typically 3.0–4.0 mm, for smooth quilting.

Circular quilting is a versatile and rewarding technique that can transform your quilts into stunning works of art. Whether you’re new to quilting or looking to expand your skills, “walking in circles” is a fun way to experiment with texture and movement.

free pattern here

Have you tried circular quilting before? Share your tips, photos, or questions in the comments—we’d love to hear about your quilting adventures!

Leave a Reply

Your email address will not be published. Required fields are marked *