Finished Block Size
10″ x 10″ finished
The unfinished block should measure approximately 10 1/2″ x 10 1/2″ before being sewn into a quilt.
Skill Level
Confident Beginner to Intermediate
This project is suitable for quilters who already have some experience with:
- Accurate rotary cutting
- Sewing a consistent 1/4″ seam allowance
- Making half-square triangles
- Matching seams and points
- Pressing quilt blocks accurately
Beginners can also make this block successfully by working slowly and checking the orientation of each unit before sewing.
Choosing Fabrics
Fabric value is one of the most important parts of this design.
For the strongest three-dimensional effect, choose:
Dark accent fabric: creates the deepest shadows.
Medium accent fabric: provides transition and definition.
Light accent fabric: adds contrast and highlights.
Background fabric: choose a very light fabric so the geometric design stands out clearly.
Purple, violet, lavender, and cream create a beautiful version of the block, but almost any color palette can work.
Try combinations such as navy, medium blue, pale blue, and white; burgundy, dusty rose, pink, and cream; forest green, sage, mint, and ivory; or black, gray, silver, and white.
The greater the contrast between your fabrics, the stronger the dimensional illusion will appear.
Cutting the Fabric
The block uses two main patch types.
Patch A – Finished 2″ Square
Cut squares measuring:
2 1/2″ x 2 1/2″
For the sample layout, prepare the required A patches using your accent and background fabrics according to the placement diagram.
The illustrated version uses approximately:
- 8 accent A patches
- 5 background A patches
Always confirm the final placement before sewing because the color distribution creates the overall 3D effect.
Patch B – Half-Square Triangles
For traditional two-at-a-time half-square triangle construction, cut squares measuring:
2 7/8″ x 2 7/8″
These squares are used to create the B units.
You will need several combinations of light, medium, dark, and background fabrics.
The original layout uses three main HST color combinations, with four units of each combination.
Making the Half-Square Triangle Units
Half-square triangles are the key construction element in the 3D Bars Quilt Block.
Place two contrasting fabric squares right sides together.
Draw a diagonal line from one corner to the opposite corner on the wrong side of the lighter square.
Sew a 1/4″ seam on both sides of the drawn line.
Cut directly along the marked diagonal line.
Open the two resulting units and press the seams carefully.
Trim each HST to the required size if necessary.
Repeat the process until you have all the half-square triangle units required for the block.
Step 1 – Prepare the B Units
Using all of the B patches, make the required half-square triangle combinations.
The block relies on the orientation of the triangles, so keep the finished units arranged near your sewing area.
Avoid stacking everything together immediately after pressing. It is much easier to maintain the correct direction if the pieces remain organized by type.
Step 2 – Arrange the Block
Lay all the units on a flat surface before sewing.
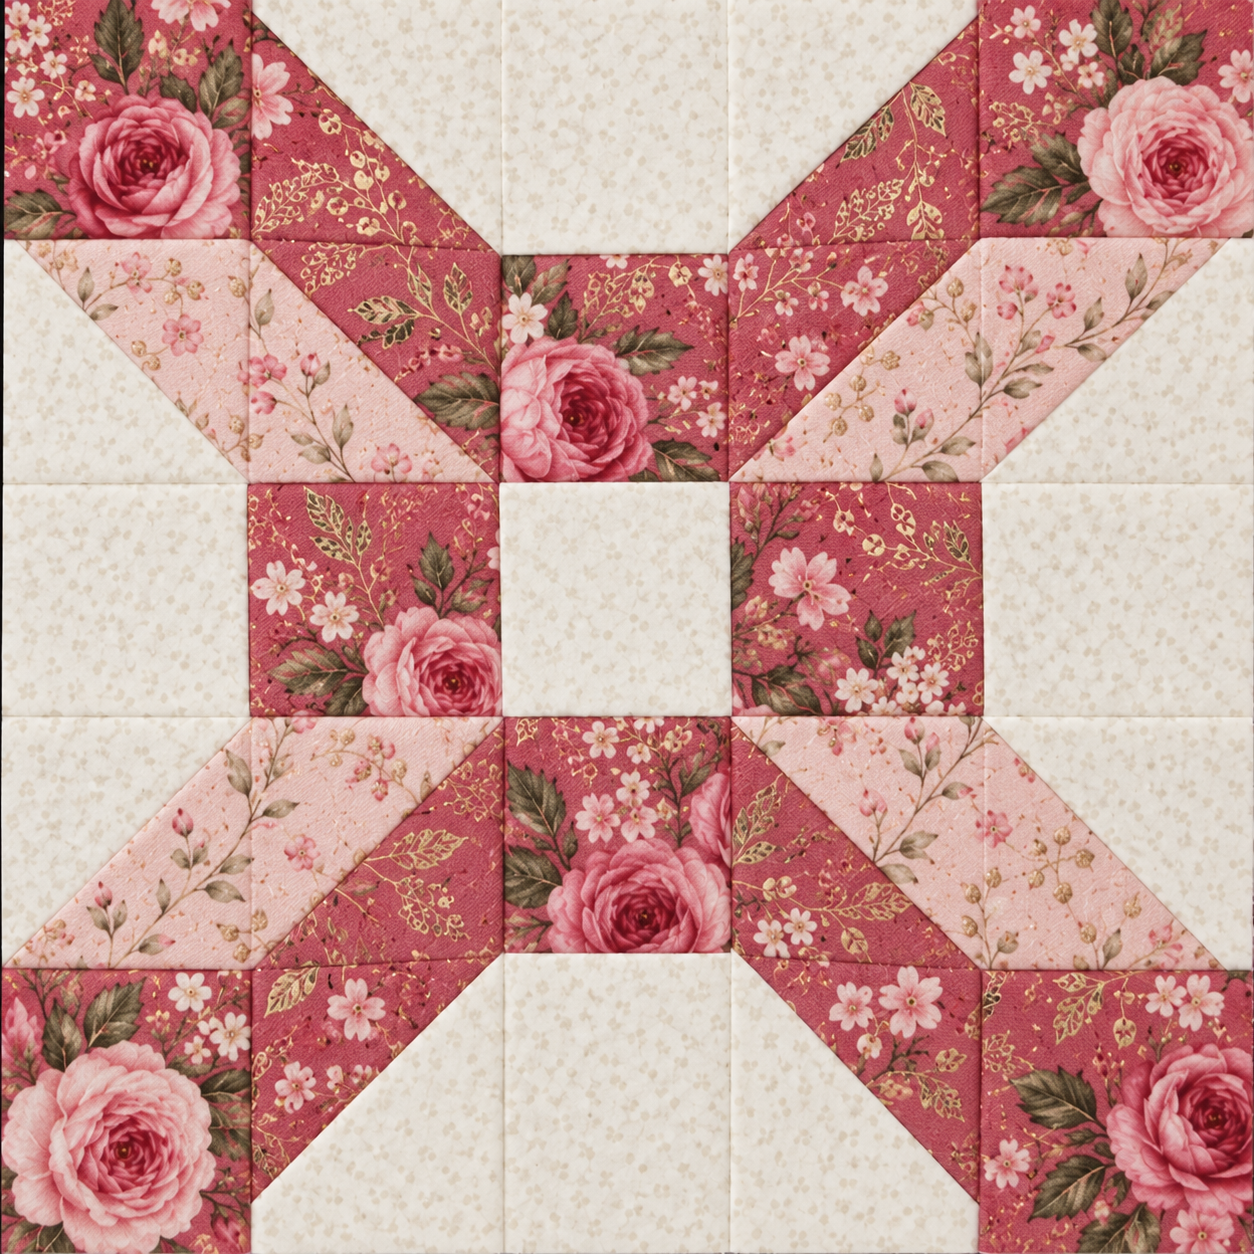
Arrange them into a 5 x 5 grid.
At this stage, compare your layout carefully with the assembly diagram included in the PDF.
Pay special attention to the direction of every half-square triangle.
One rotated HST can completely change the visual effect of the block.
A design wall is especially useful for this project because you can step back and inspect the pattern before sewing.
Step 3 – Sew the Units into Rows
Once you are happy with the arrangement, sew the units together row by row.
Use an accurate 1/4″ seam allowance.
Try not to stretch the diagonal edges of the half-square triangle units while sewing.
Press the seams of neighboring rows in opposite directions whenever possible. This allows the seams to nest together and helps create cleaner intersections.
Step 4 – Join the Rows
After all five rows have been assembled, sew the rows together.
Match the intersections carefully and pin where necessary.
Continue sewing until all five rows form one complete block.
Press the finished block gently from the back and then from the front.
Avoid pulling or stretching the block during pressing.
Step 5 – Check the Final Size
Your unfinished block should measure approximately:
10 1/2″ x 10 1/2″
Once sewn into a quilt using a 1/4″ seam allowance, the finished size will be approximately:
10″ x 10″
If the block is slightly oversized, trim carefully while keeping the design centered.
Making a Four-Block Layout
One of the most exciting ways to use this design is to combine four blocks.
Rotate the blocks to create additional geometric shapes where the corners meet.
Using different accent colors for each block can create a bright sampler-style effect.
For example, you could make four blocks using gold, purple, red, and green accents while keeping the same light background throughout the project.
The repeated background fabric helps connect the blocks visually, while the changing colors create variety.
Quilt Project Ideas
The 3D Bars Quilt Block can be used for much more than a traditional bed quilt.
A single block can become a decorative pillow front or small wall hanging.
Four blocks can make a beautiful table topper or centerpiece.
Nine blocks arranged in a 3 x 3 layout can become a lap quilt.
Sixteen blocks can create a dramatic larger quilt filled with secondary geometric patterns.
You can also add solid sashing between blocks for a cleaner modern appearance.
Tips for Better Results
Accurate cutting makes a noticeable difference with this block. Small variations become more obvious because so many seams must line up.
A scant 1/4″ seam allowance may help improve accuracy, especially when working with multiple small units.
Trim your half-square triangles before assembling the block. Consistent HST sizes make the final rows much easier to join.
Keep your pieces organized. Because several units look similar but face different directions, labeling rows or using a design board can prevent mistakes.
Most importantly, check the entire layout before sewing each row.
Create a Scrappy Version
The 3D Bars Quilt Block is also an excellent way to use fabric scraps.
Instead of using only three accent fabrics, choose several fabrics within the same value families.
For example, your dark sections could include several dark purples, the medium sections could use different lavender prints, and the light sections could use pale lilac fabrics.
The block will still maintain its dimensional appearance as long as the difference between light, medium, and dark remains easy to see.
Free 3D Bars Quilt Block PDF Pattern
To make the project easier to follow, I prepared a printable 3D Bars Quilt Block PDF containing the block diagrams, fabric placement information, cutting measurements, half-square triangle instructions, and assembly guide.
You can keep the PDF beside your sewing machine while working so you can quickly check the orientation of every piece. Download the free 3D Bars Quilt Block PDF pattern below and save it for your next quilting project.
3D Bars Quilt Block Pattern PDF
The best part of this design is watching the dimensional effect appear as the rows come together.
Individual squares and triangles may seem simple on their own, but once the complete 5 x 5 layout is assembled, the block develops a much more intricate appearance. It is a great example of how fabric placement and value can completely transform basic patchwork units.