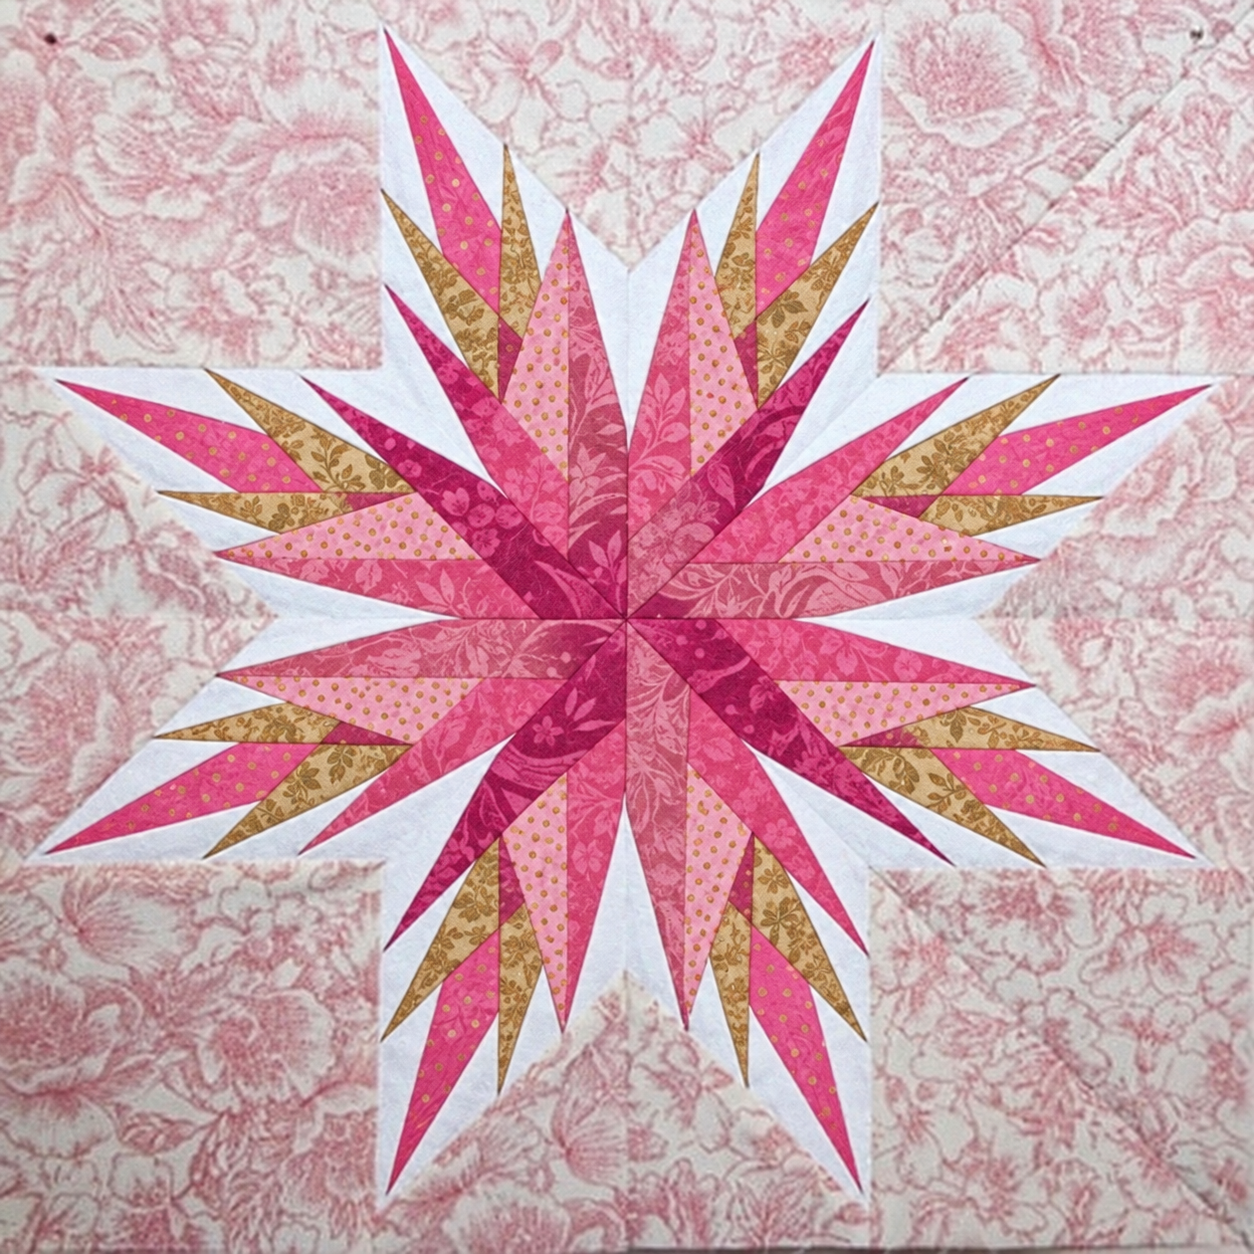
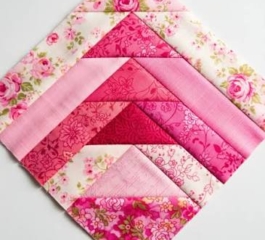
Choose small prints for the narrow pieces so their patterns remain recognizable after trimming. A large floral motif may disappear inside a slender patch. Non-directional prints also make placement easier because you can rotate the fabric rectangles as needed.
You can explore a different palette while keeping the same light-and-dark arrangement. Royal blue, navy, and pale blue could replace the reds, with white accents and an ivory background. Before cutting, use the coloring diagram in the PDF to check how the shades work together.
Materials and Tools
For the generous precuts in the companion guide, gather:
- 1/2 yard of white quilting cotton.
- 1/2 yard of blush floral background fabric.
- One fat quarter each of scarlet red, deep burgundy, dotted red, and dark red floral fabric, or equivalent scraps.
- Eight sheets of suitable foundation paper.
- A sewing machine, neutral thread, pins, rotary cutter, cutting mat, and inch ruler.
- A stiff card, a 1/4″ trimming ruler, and an iron.
The yardage assumes at least 42″ of usable fabric width, and the fat quarters should provide approximately 18″ x 21″ of usable fabric. These quantities allow for oversized pieces and some practice; leftovers are expected. Use the separate A and B cutting columns in the PDF.
How to Make the Holiday Star Quilt Block
1. Print and Check the Foundations
Print the foundations at Actual Size or 100%, with page fitting and mirroring turned off. Measure the 1″ test square in both directions before printing the remaining copies. You need four A foundations and four B foundations, printed single-sided.
2. Organize the Fabric Pieces
Cut the oversized rectangles listed in the guide and label them by section and number. Keep the A pieces separate from the B pieces. Although the sections create related star shapes, their internal divisions and some cutting measurements differ.
3. Piece Each Numbered Section
Place fabric 1 against the blank side of the paper, with its wrong side touching the foundation. It must cover the entire numbered area and extend beyond its edges for seam allowance. Add the next fabric RST, checking that it will cover its intended area when flipped open.
Sew along the printed joining line, open the new fabric, and press. Continue in numerical order through piece 14, trimming each joining allowance as you work. Complete four A sections and four B sections.
4. Join A and B into Quadrants
Pair an A section with a B section along their long diagonal edges. Match the outer-corner and star-center marks, then follow the seam-matching instructions in the PDF. Several numbered areas differ between A and B, so use the diagram to identify the correct intersections.
After joining and pressing, each quadrant should measure 6 1/2″ square, including its outer seam allowances.
5. Assemble the Complete Star
Arrange the four quadrants with their star-center corners meeting in the middle. Rotate the units while keeping the fabric right side up. Sew the top two quadrants together, then the bottom two, and join the rows.
Remove the remaining paper carefully, support the stitches as you work, and press the block. Check for an unfinished measurement of 12 1/2″ square. Keep the outer 1/4″ allowance beyond the star points so they remain intact when the block is sewn into a project.
Tips for Neat Points and Accurate Piecing
Check fabric coverage before every seam, especially around the longest points. A rectangle that appears large enough can still leave a corner uncovered after it is flipped. Press gently with a dry iron and avoid stretching the narrow pieces.
Make one A/B pair before preparing multiple blocks. This gives you a chance to check the printing scale, practice the seam intersections, and decide whether your fabrics provide enough contrast. The companion guide has been checked digitally but has not been test sewn.
Download the Free Holiday Star PDF
Use your completed block as the focal point of a cushion, a small wall hanging, or a larger sampler quilt. Its detailed center and pointed branches give it plenty of presence even as a single block.
The free Holiday Star Quilt Block Pattern PDF guide below includes a complete colored layout, a numbered block diagram, separate cutting charts, assembly instructions, and full-size A and B foundations. The guide is a reconstruction from reference images, with the original designer credited.
Holiday Star Quilt Block Pattern – Free PDF Guide
For a quilt made from several Holiday Star blocks, use a design wall or a clear floor space to compare arrangements before joining them. A consistent background can connect stars made with different red fabrics. Plain sashing can also separate the detailed blocks, giving the narrow points room to stand out and helping the overall design remain easy to read.
When it is time to quilt the finished project, consider how the stitching will interact with the patchwork. Gentle curves in the background can soften the angular star, while echo quilting can emphasize its outline. Choose a quilting density that suits the intended use, follow your batting’s recommended spacing, and test the thread color on a small fabric sandwich first.