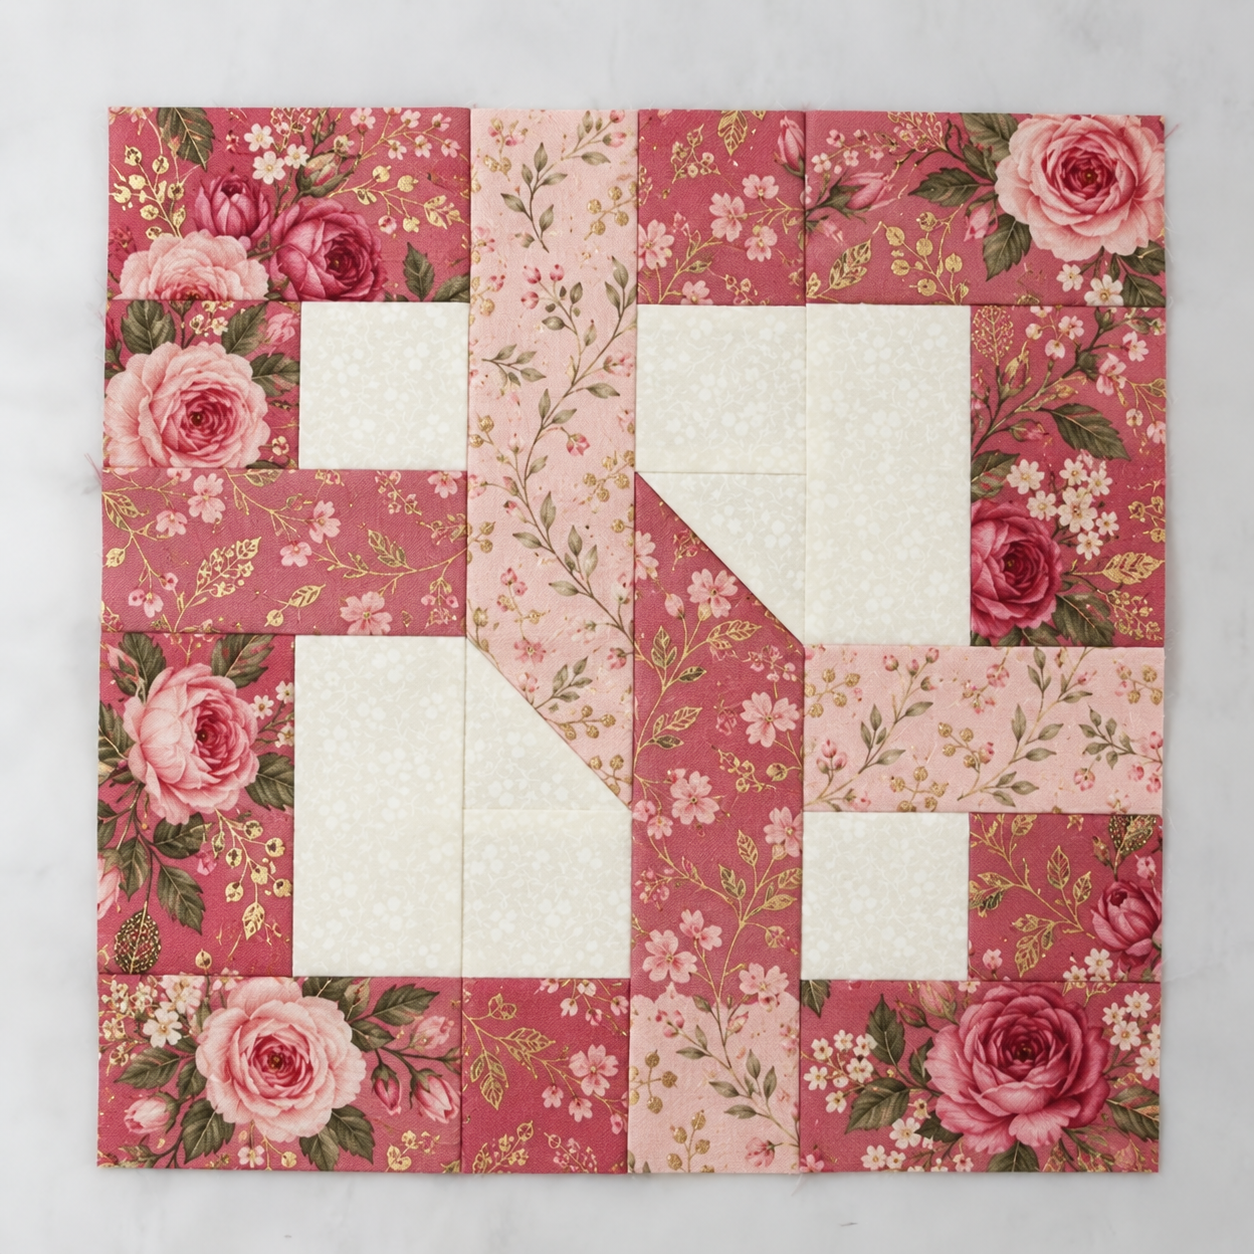
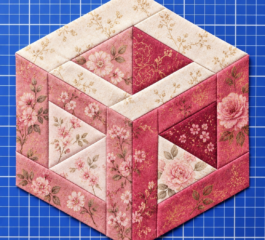
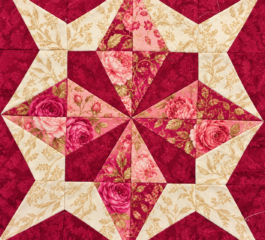
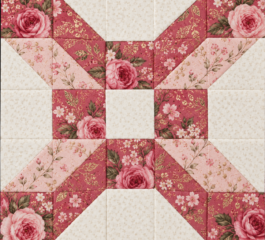
The combination of longer rectangles and small contrasting squares gives the design its distinctive looping effect.
Why You’ll Love This Quilt Block
This pattern offers plenty of opportunities to play with color.
You can make the looping sections stand out by choosing a strong main fabric and two contrasting accent fabrics. A light or neutral background helps create negative space and allows the colorful pieces to become the focus of the block.
It is also a very scrap-friendly design. Because many of the pieces can be cut from 2½-inch strips, you can easily use leftover strips from previous quilting projects.
Try making every block with different scraps for a cheerful scrappy quilt, or repeat the same three-color combination for a more traditional and coordinated look.
Finished Block Size
The completed block measures approximately:
12″ × 12″ finished
The cutting measurements include seam allowances, so the individual pieces are slightly larger before assembly.
Fabric Pieces Used in the Block
The pattern uses four basic patch shapes.
Piece A
Cut at:
2½” × 4½”
These rectangles become important sections of the looping design.
Piece B
Cut at:
2½” × 6½”
These longer rectangles help form the outer portions of the block.
Piece C
Cut at:
2½” × 2½”
The small squares are used both as regular patchwork pieces and for the folded-corner sections.
Piece D
Cut at:
4½” × 4½”
These larger background squares create the open areas inside the design.
Choosing Fabrics
For a beautiful and easy-to-read block, consider using four fabric groups:
Main Fabric: Choose the dominant print or color.
Accent Fabric 1: Select a fabric that contrasts strongly with your main fabric.
Accent Fabric 2: Add another complementary color to create additional movement.
Background Fabric: White, cream, light gray, or another low-volume fabric works especially well.
For a modern quilt, you might combine navy, mustard, coral, and white.
For a romantic version, try floral pink, burgundy, dusty rose, and cream.
For a Christmas quilt, combinations of deep red, forest green, gold, and ivory would look beautiful.
Using 2½-Inch Strips
Another advantage of this pattern is how efficiently it uses standard quilting strips.
For one block, the original cutting plan uses approximately:
- 32″ of a 2½” strip for the main fabric
- 15″ of a 2½” strip for Accent Fabric 1
- 15″ of a 2½” strip for Accent Fabric 2
These strips are then subcut into the A, B, and C pieces needed for the block.
This makes the design particularly useful for jelly roll leftovers or precut strip collections.
How the Loop the Loop Block Is Assembled
The complete illustrated construction is included in the free PDF below, but here is an overview of how the block comes together.
Step 1 – Create the Small Square Units
Begin by arranging the C squares into small two-square units.
These units form part of the distinctive intersections visible in the completed block.
Step 2 – Add the Short Rectangles
Main-fabric A rectangles are added to the units made in the first step.
Make sure your seam allowances remain consistent so the sections line up correctly later.
Step 3 – Introduce the Accent Fabrics
Next, the contrasting A rectangles are combined with the previous units.
At this point, you will begin to see two mirrored sections forming.
Step 4 – Add the Longer Accent Rectangles
The B rectangles are added to complete these first larger block sections.
These long pieces help create the illusion of continuous fabric strips looping through the design.
Step 5 – Make the Folded Corners
The remaining C squares are paired with the larger D squares.
Use the familiar stitch-and-flip technique to create diagonal corners.
This is one of the most important construction stages because these diagonal details help create the visual transition between the different sections of the block.
Step 6 – Add the A Rectangles
Attach the remaining main-fabric A rectangles to the folded-corner units.
Step 7 – Complete the Large Units
Add the final B rectangles.
You should now have four larger sections ready to form the finished quilt block.
Step 8 – Assemble the Block
Arrange all four sections according to the block diagram.
Before sewing, take a moment to confirm that the colored pieces create the continuous looping appearance.
Sew the units together, matching seams carefully.
Press the finished block flat.
Tips for Accurate Piecing
A design like this becomes much easier when each individual unit is accurately sewn.
Use a consistent ¼-inch seam allowance throughout the project.
After completing each unit, check that it remains square before continuing.
Press seams carefully rather than stretching them with the iron. Small distortions early in construction can become much more noticeable when the four main sections are joined together.
It can also help to arrange all four completed sections on your table before sewing the final seams. Because the design rotates around the center, accidentally turning one section is easy.
Make a Full Loop the Loop Quilt
One block makes a beautiful sampler block, pillow front, table topper, or mini quilt.
However, the pattern becomes especially interesting when many blocks are repeated.
A quilt measuring approximately 60″ × 84″ can be created by arranging:
5 blocks across × 7 blocks down
That means you will need approximately:
35 blocks total.
When the blocks are placed side by side, the individual loops begin interacting with neighboring blocks, producing an even more intricate secondary design.
Scrappy Loop the Loop Quilt Idea
This block is an excellent candidate for a scrap quilt.
Instead of using one main fabric throughout the entire quilt, choose a different main strip for each block.
Keep the background consistent to provide visual balance.
You can also choose two accent colors that repeat throughout the quilt while allowing the main fabrics to vary.
This approach creates a lively patchwork quilt without making the finished design feel chaotic.
Beginner-Friendly Cutting Strategy
If you are still developing your quilting skills, cut enough fabric for just one test block first.
Complete the entire block before cutting fabric for a full quilt.
This allows you to become familiar with the orientation of the pieces and check that your seam allowance produces the correct finished size.
Once your first block is successful, you can chain-piece several blocks at once.
Free Loop the Loop Quilt Block PDF Pattern
Ready to make your own block?
Below you can download the free Loop the Loop Quilt Block PDF, which includes the complete cutting measurements and step-by-step diagrams to help you assemble the block.
The Loop the Loop Quilt Block is a great example of how basic quilting shapes can create a surprisingly sophisticated design.
Loop the Loop Quilt Block Pattern PDF
Simple rectangles and squares transform into a block filled with movement, intersections, and visual texture. Whether you make one block for a small project or repeat the design across an entire quilt, it offers plenty of possibilities for experimenting with scraps, jelly roll strips, floral prints, solids, or bold modern colors.
And because most of the block is based around convenient 2½-inch strips, it is also an excellent project for using fabric already waiting in your sewing room.