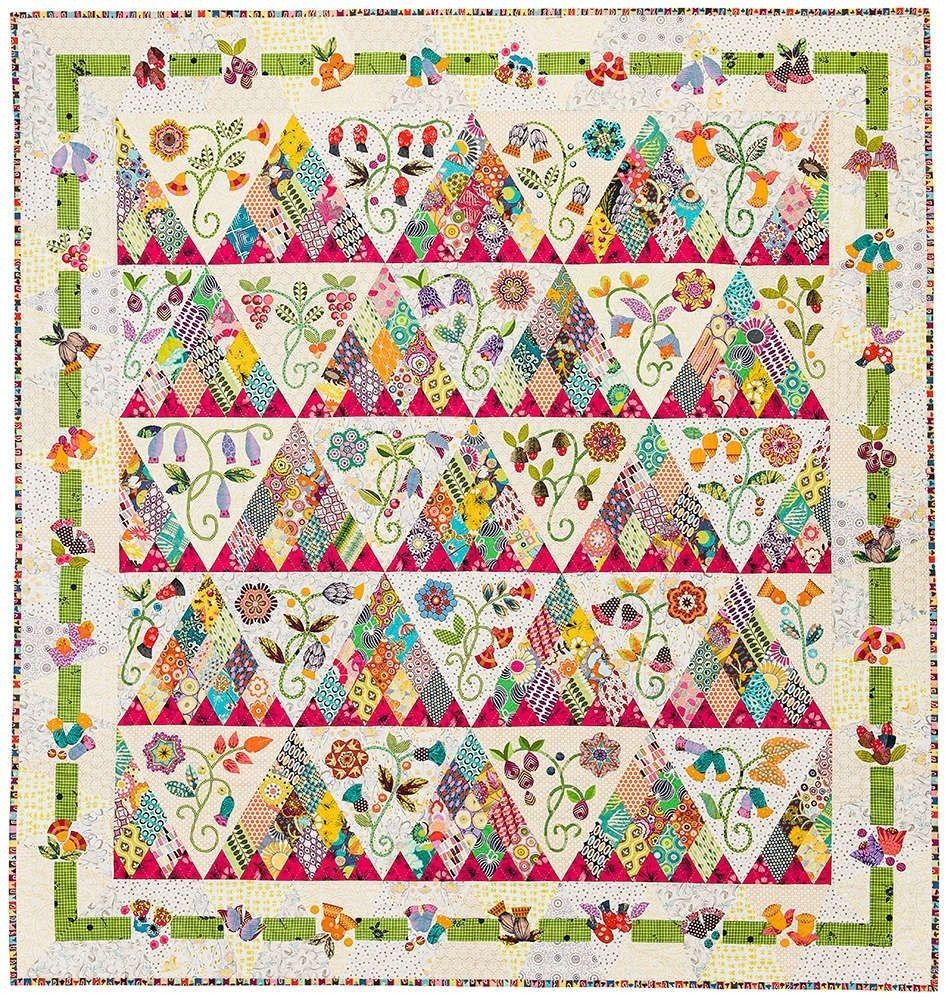
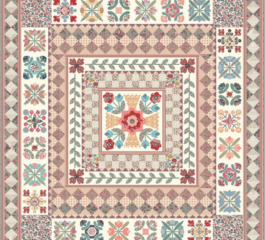
The combination of shaped patchwork and varied appliqué makes this a project to approach in stages. If either technique is new to you, practice on scraps before working with your selected quilt fabrics. The original instructions are needed to determine the exact preparation and stitching method for each unit.
Fabric Requirements from the Supplied List
The following amounts come from page 1 of the class handout. Some categories call for a variety of fabrics without specifying a total. Those missing totals should be checked against the complete pattern rather than estimated from the photograph.
| Placement |
Fabric suggestion and stated amount |
| Triangle and border backgrounds |
Light fabrics: 28 inches of each of six fabrics, or 4 yards of one fabric |
| Bottom row of pieced triangles |
¾ yard of a darker fabric that stands out |
| Scrappy pieced diamonds |
¼ yard of multiple medium-value prints; total number of fabrics not specified |
| Stems and leaves |
¼ yard of multiple greens, with at least three fabrics in different values |
| Flowers |
Small amounts of a wide range of prints and near-solids |
| Green border logs |
⅜ yard of medium green |
| Binding |
½ yard |
| Backing |
3¾ yards |
| Batting |
Approximately 75 × 75 inches |
The background options deserve attention: six lengths of 28 inches total 4⅔ yards, while the single-fabric option is 4 yards. Both are listed in the source. Their difference may reflect how the class planned to cut or distribute the fabrics, but the handout does not explain it. Keep the two alternatives separate until you have the cutting instructions.
The backing amount also needs to be considered together with the fabric’s usable width and the intended joining layout. The handout does not supply those details. Likewise, its binding allowance does not specify a strip width or strip count. Check these points before treating the list as a final shopping plan.
Choosing Fabrics for the Floral Triangles
Begin with the background fabrics. In the reference quilt, they are light enough to separate the busy patchwork from the appliqué. Quiet small prints can introduce texture while leaving the stems and flowers easy to recognize. Test several potential flower fabrics on the background rather than judging each fabric by itself.
For the pieced areas, choose a range of medium-value prints with differences in scale. Dots, small geometrics, floral fragments, and stripes can sit together comfortably when no single print dominates every triangle. A recurring darker accent, like the pink visible in the photograph, can help connect otherwise varied scraps.
Greens deserve their own small collection. The supply list asks for light, medium, and dark values for stems and leaves. Place those fabrics beside both the pale backgrounds and the brighter flower fabrics to see which combinations remain distinct. The medium green used for the border can help tie the central foliage to the outer frame.
Tools Mentioned in the Class Handout
Along with scissors, pins, a seam ripper, and a pencil, the supply list includes hand appliqué needles, freezer paper, starch, and fabric glue. A circle-making aid is described as helpful but optional. The handout also names ⅝-inch hexagon templates and an optional ¼-inch bias tape maker.
The template names alone do not provide a complete flower pattern. Confirm the hexagon sizing convention, the required quantity, and the arrangement of each flower in the original instructions. Similarly, the optional bias tool does not establish every stem length or placement.
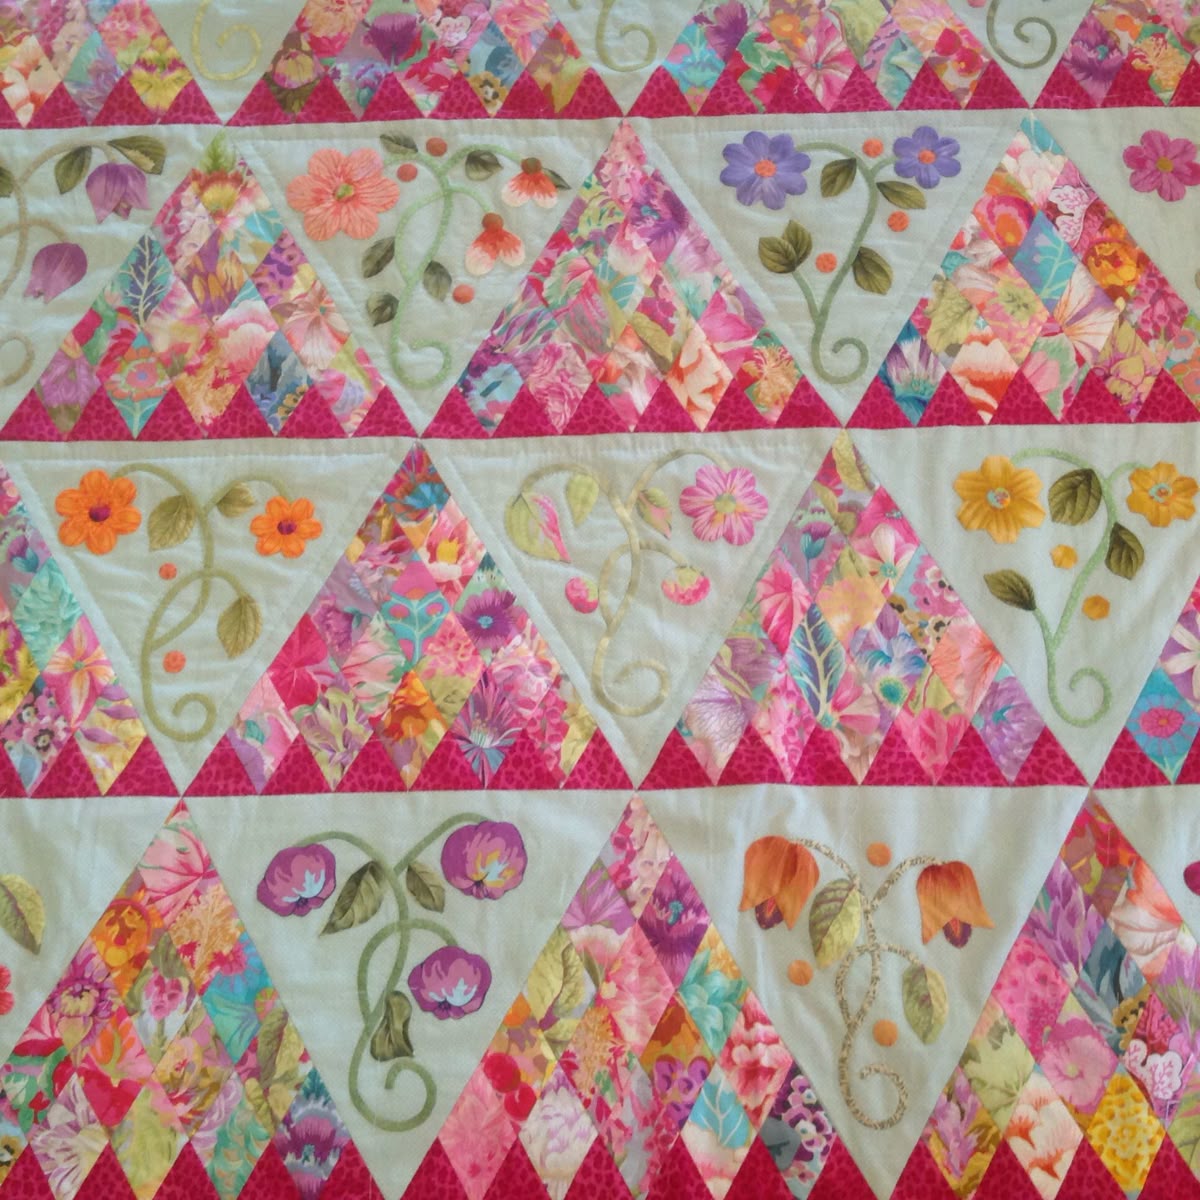
Sweet Surrender Quilt
Test any marking product, glue, or pressing technique on scraps of the fabrics you plan to use. Keep notes about the results, especially if you are combining several fabric types or deciding between hand and machine appliqué.
A Practical Preparation Sequence
1. Gather the complete pattern pages
Before bulk cutting, locate the triangle and diamond templates, the floral placement sheets for blocks 1–18, and the half-block sheets A–D. You will also need the row layout, border instructions, and finishing details. These are the information gaps left by the supplied class handout.
2. Sort the fabrics by purpose
Create separate groups for backgrounds, pieced diamonds, darker bottom accents, stems and leaves, flowers, border green, binding, and backing. Label the groups and keep a small swatch record. This makes it easier to check the material list without repeatedly unfolding every piece.
3. Organize the block work
Prepare labeled folders or bags for A–D and 1–18, following the names used in the class schedule. Once you have the actual block sheets, keep each sheet with its selected fabrics. Avoid assuming that the schedule itself gives the quilt’s row order.
4. Confirm measurements on a test unit
When the full instructions are available, make a test pieced triangle and compare its shared sewing edge with the corresponding appliqué unit. Record the raw and finished measurements separately. This is the time to resolve any difference in template scale or seam allowance before cutting the full project.
5. Work through the confirmed assembly order
The class schedule progresses through preparing triangle backgrounds, making vines and flowers, piecing the triangles, constructing borders, and joining the quilt. Use it as an overview of the skills involved. The detailed sewing order must come from the complete pattern or the specific class instructions, because the handout states that construction changes were planned.
Helpful Terms
- Appliqué: fabric shapes attached to a background fabric.
- Fussy cutting: positioning a cut to feature a particular printed motif.
- Finished measurement: the visible unit size after its joining allowances are taken up.
- Raw or unfinished measurement: the size before a unit is joined to its neighbors.
- Bias: the diagonal direction of woven fabric, useful when preparing strips that need to curve.
Download the Free Sweet Surrender Preparation Guide
The accompanying English PDF organizes the stated fabric requirements, tools, preparation steps, and missing-pattern checklist. It also includes a project record for measurements confirmed from the original instructions.
Sweet Surrender Quilt PDF Pattern
This download is a planning companion, not the complete Sweet Surrender pattern. With the original templates in hand, you can use it to keep your fabric choices and test measurements together as you work through the quilt. The careful preparation is part of what allows all those different prints, flowers, and angled pieces to form a cohesive finished project.