Keep the main part of the design at least 1/2 inch away from the raw edges so it will not disappear inside the seam allowance.
Adding the Inner Frame
Cut two burgundy strips measuring 1 1/4 x 7 1/2 inches. Sew one strip to each long side of the focal rectangle using a 1/4-inch seam. Press the seams toward the burgundy fabric.
The unit should now measure 6 x 7 1/2 inches.
Next, cut two burgundy strips measuring 1 1/4 x 6 inches. Sew them to the top and bottom edges. Press the seams toward the frame.
After this step, the framed center should measure exactly 6 x 9 inches.
Checking the measurements now will make the final trimming much easier.
Sewing the Outer Strips
The outer pieces are added clockwise around the framed center. Center each strip along the appropriate edge before sewing. After every seam, press the strip away from the center and trim its ends flush with the unit.
Add the strips in the following order:
- Cream strip: 3 x 7 inches, sewn to the top.
- Burgundy strip: 3 x 12 1/2 inches, sewn to the right side.
- Cream strip: 3 x 9 1/2 inches, sewn to the bottom.
- Burgundy strip: 3 x 15 inches, sewn to the left side.
- Burgundy strip: 3 x 12 inches, sewn to the top.
- Cream strip: 3 x 17 1/2 inches, sewn to the right side.
- Burgundy strip: 3 x 14 1/2 inches, sewn to the bottom.
- Cream strip: 3 x 20 inches, sewn to the left side.
When all eight strips have been attached, the oversized unit should measure approximately 16 x 19 inches.
The extra fabric is intentional. It provides enough room to rotate and trim the block without leaving any corners too short.
Creating the Twisted Effect
The distinctive twist is created during the final trimming stage.
The printable PDF includes a full-size 12 1/2-inch trimming guide divided across four letter-size pages. Print the template pages at 100% or “Actual Size.” Do not select “Fit to Page.”
Measure the 1-inch test square before using the template. If it does not measure exactly one inch, check the printer settings and print the pages again.
Tape the four sections together by matching the overlapping registration marks. Place the completed guide over the pressed quilt unit and align the dashed registration rectangle with the visible seam surrounding the inner burgundy frame.
Trace the solid 12 1/2-inch outline and trim one side at a time with a quilting ruler and rotary cutter.
The center will now appear tilted at a precise 15-degree angle.
Helpful Construction Tips
Use a consistent 1/4-inch seam throughout the project. Small differences in the seam allowance can affect the inner frame measurements.
Press rather than stretch the fabric. Some edges will be cut along the bias during final trimming and can become distorted if handled too aggressively.
If the block will be stored or handled frequently before being added to a quilt, stay-stitch approximately 1/8 inch from the outer raw edge.
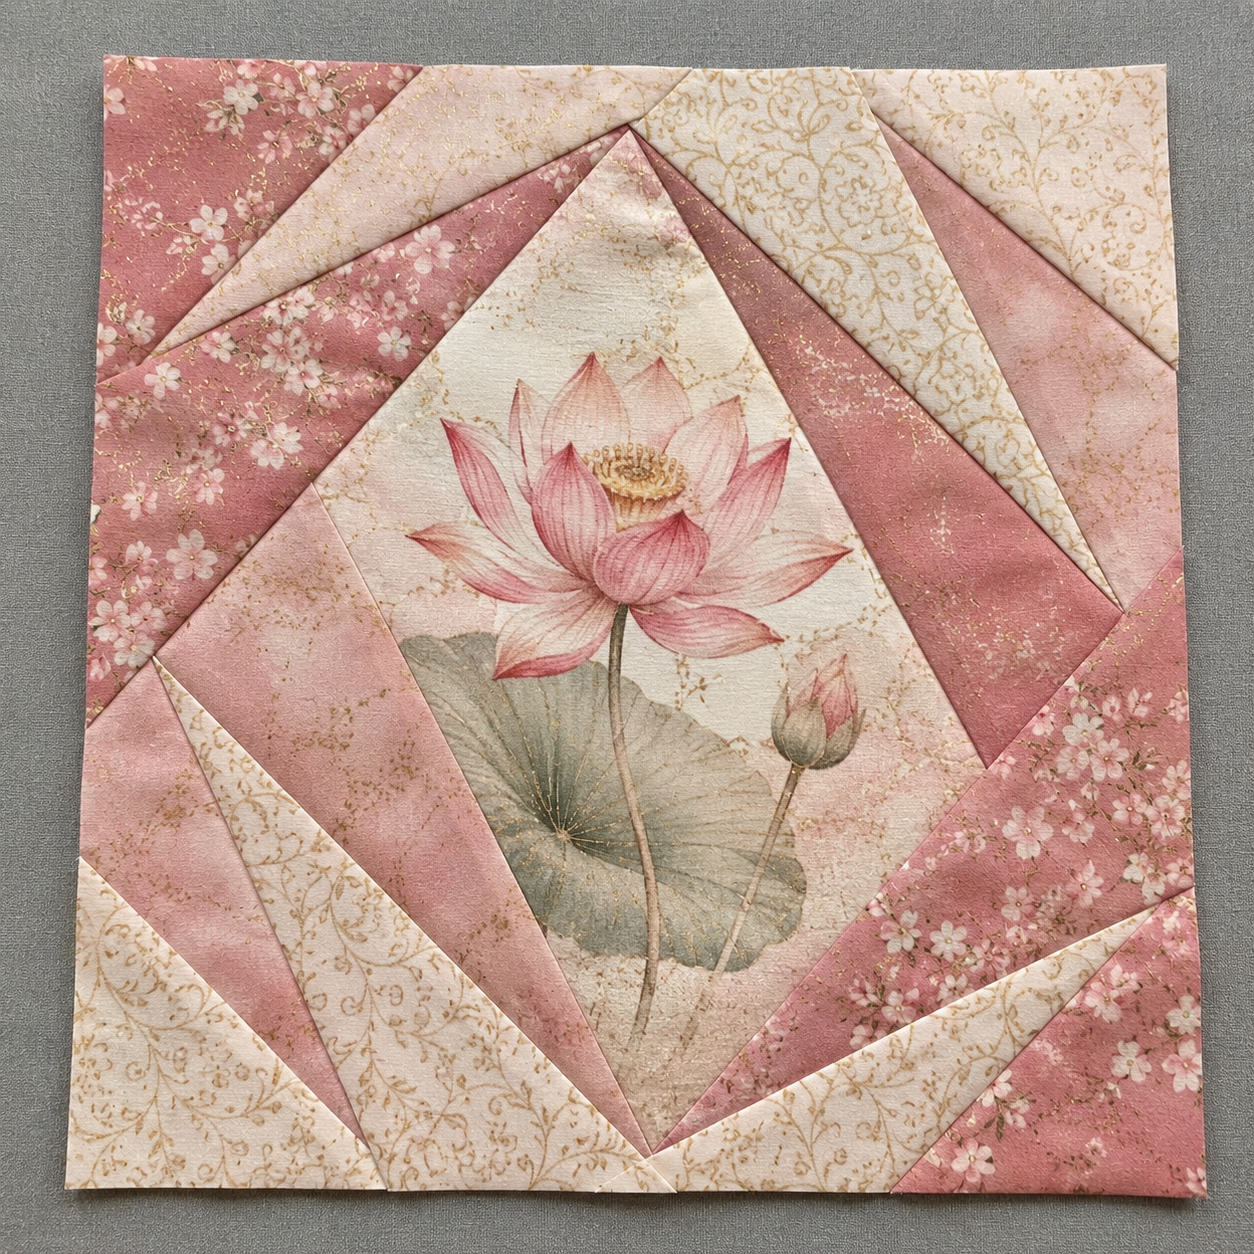
For directional prints, remember that the focal rectangle will rotate clockwise in the completed block. Audition the fabric before cutting if you want the central image to remain visually upright.
Ways to Use This Block
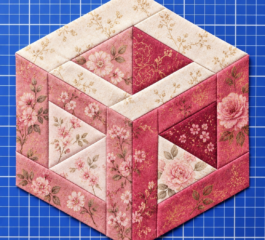
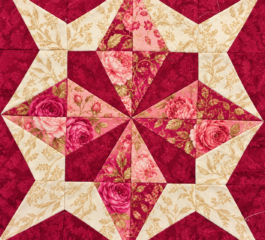
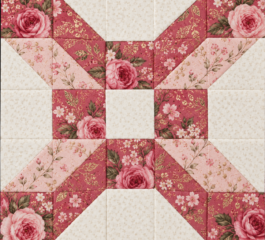
A single Twisted Picture Frame Block can become a small wall hanging or decorative pillow cover. Multiple blocks can be arranged with the center rectangles rotating in alternating directions.
You can also use different focal prints in every block to create:
- A seasonal picture quilt
- A wildlife or bird quilt
- A family memory quilt
- A floral garden quilt
- An I Spy quilt for children
- A fabric panel showcase
Changing only the focal fabric allows every block to look unique while maintaining a consistent overall design.
Download the Free PDF Pattern
The complete printable PDF includes the cutting chart, illustrated construction steps, measurement checkpoints, color diagrams, and the full-size tiled trimming guide.
Twisted Picture Frame Quilt Block PDF
Print the template section at 100% or “Actual Size” to preserve the correct measurements.
Download the free Twisted Picture Frame Quilt Block PDF above and choose a special focal fabric for the center of your block.