Size and Skill Level
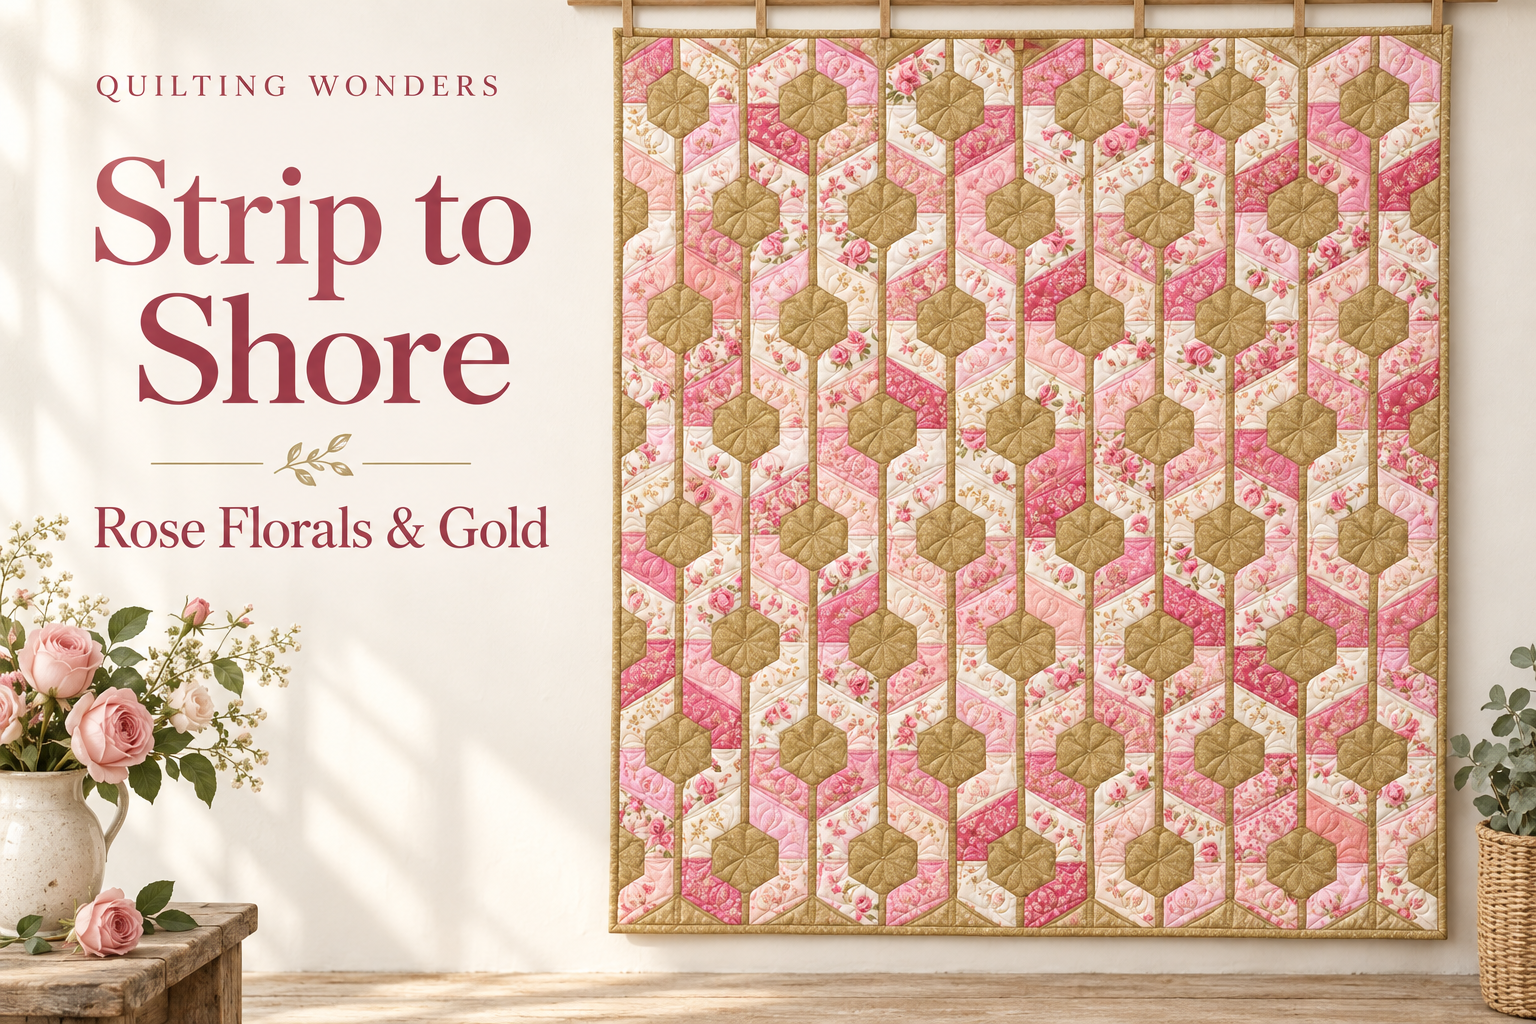
The calculated, trimmed quilt top measures 54¼ × 60½ inches, approximately 138 × 154 cm. The bound quilt should remain close to those dimensions, allowing for normal quilting take-up and washing shrinkage.
This is an intermediate quilting project. It involves mirrored pieces, angled joins, narrow sashing, and careful matching at seam intersections. Making one complete sample unit first will help you check your seam allowance and become familiar with the assembly order.
The PDF’s geometry, counts, and print scale have been checked digitally. The adaptation has not been test-sewn, so the sample unit is an essential check before cutting the entire quilt.
Choose Pink Florals with Enough Contrast
Start with a mix of pale, medium, and deeper pink fabrics. Small rose prints work well in the angled bands because their motifs remain recognizable after cutting. Include a few quiet blenders or subtle textures so that every fabric is not competing for attention.
Ivory prints with pink blossoms are especially useful beside stronger rose shades. A deeper raspberry or dusty-rose fabric can add definition where several pale fabrics meet. Lay the fabrics together before cutting, and check that the lighter prints remain distinguishable from one another.
For the gold, choose a medium-to-deep champagne or antique-gold quilting cotton that contrasts with the surrounding pinks. A fine metallic print can provide the decorative detail, while the cotton itself stays soft and easy to sew. Gold leaves or tiny metallic accents in a few floral prints can repeat that color throughout the quilt.
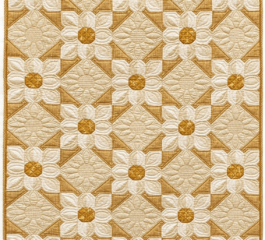
The fabric labeled G in the PDF’s main construction pages is charcoal in the reference palette. For this version, replace every G piece with your chosen gold fabric, including the center patches, sashing, and binding. Page 18 provides the alternate color plan.
Materials You Will Need
The quantities below apply to the accompanying adaptation. They assume at least 40 inches of usable fabric width after removing selvages and fat quarters measuring at least 18 × 20 inches.
| Material |
Amount |
| Coordinating pink, rose, and ivory fabrics |
24 fat quarters |
| Gold fabric for all G pieces, sashing, and binding |
3 yards |
| Backing fabric |
4 yards, or one 64 × 70-inch piece |
| Batting |
64 × 70 inches |
| Reusable templates |
Template plastic or firm cardstock |
| Practice fabric |
A few coordinating scraps for a sample unit |
You will also need thread, a rotary cutter, a ruler, a cutting mat, pins, an iron, and a removable marking tool. If you prefer fewer different fabrics, you can use 12 half-yard cuts and divide each into two fat-quarter-sized portions, assigning the same print to two fabric codes.
This adaptation uses starter pieces wider than standard 2½-inch precut strips. Follow its cutting chart and template outlines together when preparing the fabrics.
Quilting Abbreviations and Measurements
- G: the contrasting fabric, gold in this colorway.
- RST: right sides together.
- WOF: usable width of fabric, excluding selvages.
- FQ: fat quarter.
- FPP: foundation paper piecing.
- Unfinished size: the measurement of a sewn unit with its outer seam allowances still included.
Use a ¼-inch seam allowance for all patchwork. The backing panels use a ½-inch seam. The printed cutting templates already include their seam allowances, so no additional allowance should be added.
How to Make the Photo-Based Adaptation
1. Print and Check the Templates
Print the required template pages at Actual Size or 100%. Measure a calibration square before transferring any shapes to template plastic: it must be exactly 1 × 1 inch.
Pages 15–16 contain the reusable fabric-cutting templates, including left and right versions. Page 17 provides a full-size unit check. If you prefer foundation paper piecing, use the optional masters on pages 13–14 and follow the printing quantities in the guide.
2. Cut the Starter Pieces and Label the Fabrics
Assign the colored fabrics codes 01 through 24. Each fat quarter supplies the two colored patches for nine sections. Keep those pairs together as you cut.
| Patch |
Total quantity |
Starter rectangle |
| G / patch 1 |
216 |
3 × 3½ inches |
| Color / patch 2 |
216 |
4 × 3 inches |
| Color / patch 3 |
216 |
7½ × 3¼ inches |
These are starting blanks, not the final angled shapes. For template piecing, cut the final pieces using the outer solid template lines. Transfer the seam-intersection dots and keep the left and right shapes in separate labeled stacks. The guide includes a fat-quarter cutting plan that fits nine matched color sets into each fabric portion.
3. Sew the Three-Piece Sections
Each section contains one gold patch and two patches cut from the same colored fabric. Join patches 1 and 2 first, matching the marked seam intersections. Press toward the colored patch, then add patch 3 along the long sloping edge.
The two colored pieces form a continuous area of one fabric after sewing. This arrangement allows the gold corner to be constructed with straight seams. Make both left and right sections, using the matching templates for each hand.
For accurate joins, pin through the marked seam-line endpoints. Projecting raw tips may extend beyond one another before sewing; the marked intersections determine the alignment.
4. Assemble Types A and B
Two left sections make a Type A unit, and two right sections make a Type B unit. Rotate the lower section 180 degrees, keeping its fabric right side facing up, then join the two sections along their diagonal edges.
Each rectangular unit should measure 4¾ × 7½ inches before assembly. Its finished design area is 4¼ × 7 inches. Preserve the ¼-inch allowance around that smaller rectangle when checking the size.
Make 54 Type A units and 54 Type B units, for 108 units altogether. The PDF’s color map identifies the upper and lower fabric codes for every position.
5. Build the Alternating Columns
Arrange nine units in each of 12 columns. Odd-numbered columns begin with A and alternate A, B, A, B, A, B, A, B, A. Even-numbered columns begin with B and alternate B, A, B, A, B, A, B, A, B.
Join each column along the short horizontal unit edges and press the seams open. A completed column should measure 4¾ × 63½ inches. Keep the top of each column labeled, and compare all 12 lengths before moving on.
6. Add the Gold Sashing and Trim the Ends
Cut 11 gold sashing strips at ¾ × 63½ inches. Place one between each pair of columns, then sew the quilt center together. The sashing finishes at ¼ inch wide and connects the gold patches across the design.
The assembled top should measure 54¼ × 63½ inches. Measure and remove 1½ inches from the original top raw edge and the same amount from the original bottom raw edge. This creates the cropped end shapes and brings the top to 54¼ × 60½ inches.
Staystitch ⅛ inch inside the outer raw edges to secure the cut seams before layering the quilt.
Quilting Ideas for the Rose-and-Gold Version
Gentle curves can soften the angular bands, while a small flower motif inside each gold center echoes the quilting visible in the reference. Keep the stitching simple enough that the floral prints remain readable. The PDF includes a reduced-scale six-petal motif as a quilting suggestion.
Use a backing and batting piece measuring 64 × 70 inches. This provides at least 4¾ inches of extra material around the top; confirm any different requirements with your longarm quilter before cutting. Choose a quilting density appropriate for your batting and test the thread on a small fabric sandwich.
Finish with seven 2½-inch × WOF gold binding strips, joined with diagonal seams. Repeating the center fabric at the edge creates a neat frame around the pink florals. A quiet backing in blush, ivory, or a coordinating rose print will continue the color theme when the quilt is folded over.
The 18-page PDF includes measured assembly diagrams, cutting charts, fabric layouts, a color placement map, reusable templates, optional paper foundations, a full-size unit check, and the rose-and-gold palette guide.
Strip to Shore Quilt Pattern PDF
Use the measured PDF diagrams for construction and the decorative cover for color inspiration. Begin with the calibration check and one sample unit, then enjoy arranging the fabrics. The balance of pink florals, ivory, and warm gold gives this geometric quilt a soft, garden-inspired finish.