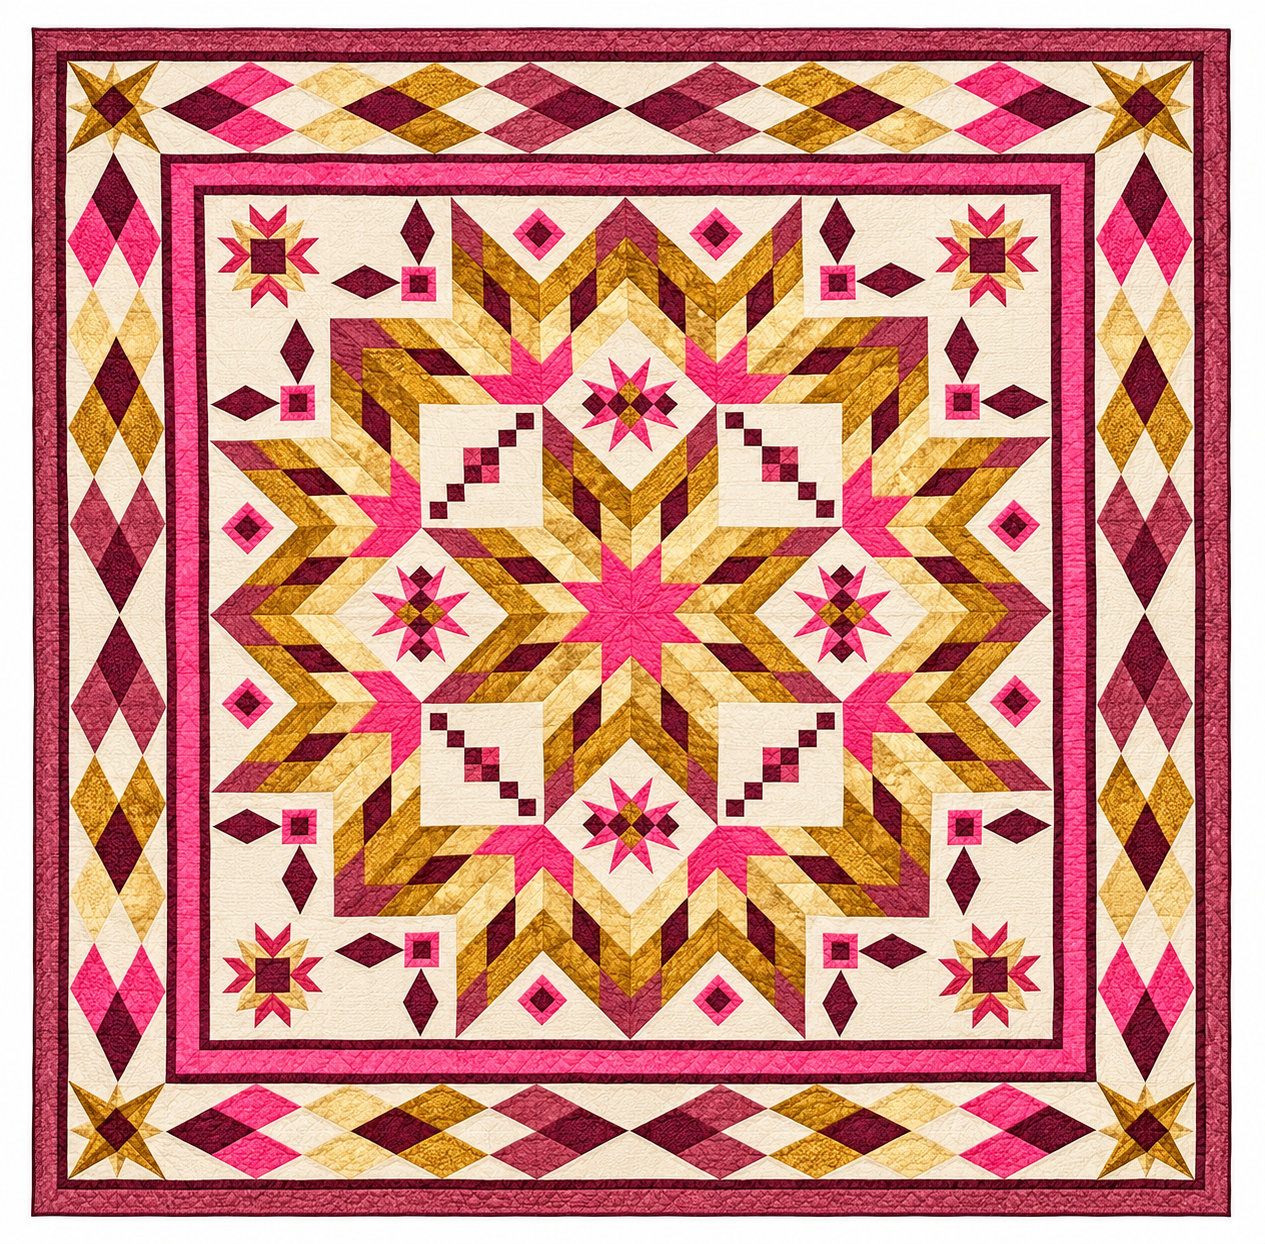
After quilting, lay two folded strips of binding along one finished corner before choosing your fabric. Deep teal carries the color of the outer frame all the way to the edge. Charcoal picks up the dark centers of the corner stars and gives the quilt a fine outline. Fold each strip to the width that will actually show on the front; a narrow sliver of charcoal looks quite different from a full strip laid flat.
For the cool colors, save your brightest turquoise for the center star and repeat it in the outer diamonds. A deeper teal works well along the edge, where it gives the ivory border a crisp outline. Small-scale batiks are a good choice for the narrow points. To see how a favorite print will look when cut, lay its paper template on top and fold the fabric back until only a point-sized patch shows.
Building the medallion one quarter at a time
The most helpful marks in this project are the two center creases in the ivory foundation. They show you exactly where to turn the placement master. Print pages 7–15 at 100% or Actual Size. Before taping the sheets together, measure the one-inch check square in both directions. The nine sheets form one 18-inch-square quadrant.
Keep the assembled master face up when marking placement on the background. Turn it face down when tracing onto the paper side of your fusible web. That small change matters at the bends in the ribbon. Lay the first few fabric shapes on their marked positions with the paper still attached and check which way the bend points before pressing.
Keeping the diamond border in order
Each side has five repeats. On the top border, the turquoise end units lead into warm ochre units, with deep teal at the midpoint. The two units to the right of center mirror the two on the left. Lay out one whole side before fusing, then take a quick photo. When you turn the next strip to work on it, the photo makes it easy to check which points face the outside edge.
The little corner stars are a handy place to practice your edge stitching. Try one point on spare ivory cotton with the same fusible web and thread you plan to use. A narrow zigzag should catch the background on one swing and the appliqué on the other. At the tip, stop with the needle down, lift the presser foot, and pivot. Check that the fabric lies flat before stitching the remaining stars.
The 17-page guide includes fabric amounts, cutting measurements, a color layout, full-size appliqué templates, and instructions for the borders, quilting, and binding. The templates were drafted from the photograph, and this adaptation has yet to be test-sewn. A scrap sample of the smallest star is a good first step before cutting your chosen batiks.
Download the free Taos Quilt Pattern PDF
For the quilting itself, try outlining the long copper-colored bends in a matching thread and adding a second line in the ivory beside them. Up close, that line gives the background texture. From across the room, the turquoise star and the folded ribbons still catch the eye first.